


Client portals allow your customers to see tasks, projects, and documents in one place. With it, you can quickly communicate with clients, and they can see how projects are going on their own.
You can use WordPress to create client portals in three different ways:
- With a network install;
- With membership plugins;
- Using password-protected pages.
Each of these options has its pros and cons.
Let’s see who should consider creating a client portal on WordPress in the first place, and then how it can be done in different ways.
Can you create a client portal with WordPress?
Yes, you can use WordPress to create a client portal. Unfortunately, WordPress is not built for this purpose and even when using the right plugins, the setup can easily become limited and complicated.
What are the pros of using WordPress to create a client portal?
For starters, WordPress is free, and many plugins are free as well. This made it a very popular tool with a great community that you can turn to for help in your building journey.
Another positive aspect of building a client portal in WordPress is its flexibility. Especially if you can code, you can customize the interface and the workflows to your liking. With the right plugins, you can enhance accessibility, optimize the website for SEO, and ensure optimal security.
What are the cons of using WordPress to create a client portal?
Even though WordPress itself is free, you will still need to pay for a hosting provider and a domain name, and you might have to pay for more premium plugins.
Another negative point is how long it takes to get started. You might need days to create the WordPress client portal you want. If you decide to use something like Softr instead, created with client portals in mind and with ready to go client portal template, you can be done in 15 minutes.
WordPress is also a high-maintenance solution. There are constant core releases, plugin updates, and theme updates. You need to ensure everything is working as it should, that you didn’t get hacked. At the end of the day, you are responsible for the entire infrastructure of your client portal.
And If you want to customize your WordPress client portal further, you will need to hire a developer or learn how to code. No-code builders like Softr allow you can edit anything you want without coding.
Should you create your client portal on WordPress?
If your whole infrastructure is built on WordPress, you can code your way around issues, and you are willing to keep up with maintenance, you can build a client portal in WordPress. Continue to read and this article will show you different ways to do it!
If you prefer a simpler approach, where you can have a fully custom client portal in 15 minutes, you should instead try to create a client portal using Softr.
How to create a client portal in WordPress with a network install
Cost: 0
Time: 1h-4h, depending on your technical background and setup
You can create a client portal in WordPress using a network, also known as multisite installation.
This type of WordPress install creates a main site that allows you to create multiple subsites under the same wp-admin.
These subsites each have their own database tables (with the exception of the users table), which means that the content is separate on each of them. But since they are all in the same network, it is easy to load content from one subsite to another one, in case you need to.
The main use of the network feature itself is creating new subsites for your clients, so each of them can only see data about their own projects.
They can see everything from the WordPress dashboard. This allows them to interact with your content, upload media, and use the dashboard as they would in other client portals.
Let’s see how you can do it.
Create a WordPress install for your client portal
You could use your current WordPress website, but it’s quite risky. It’s better to create a new WordPress installation to keep things completely separate.
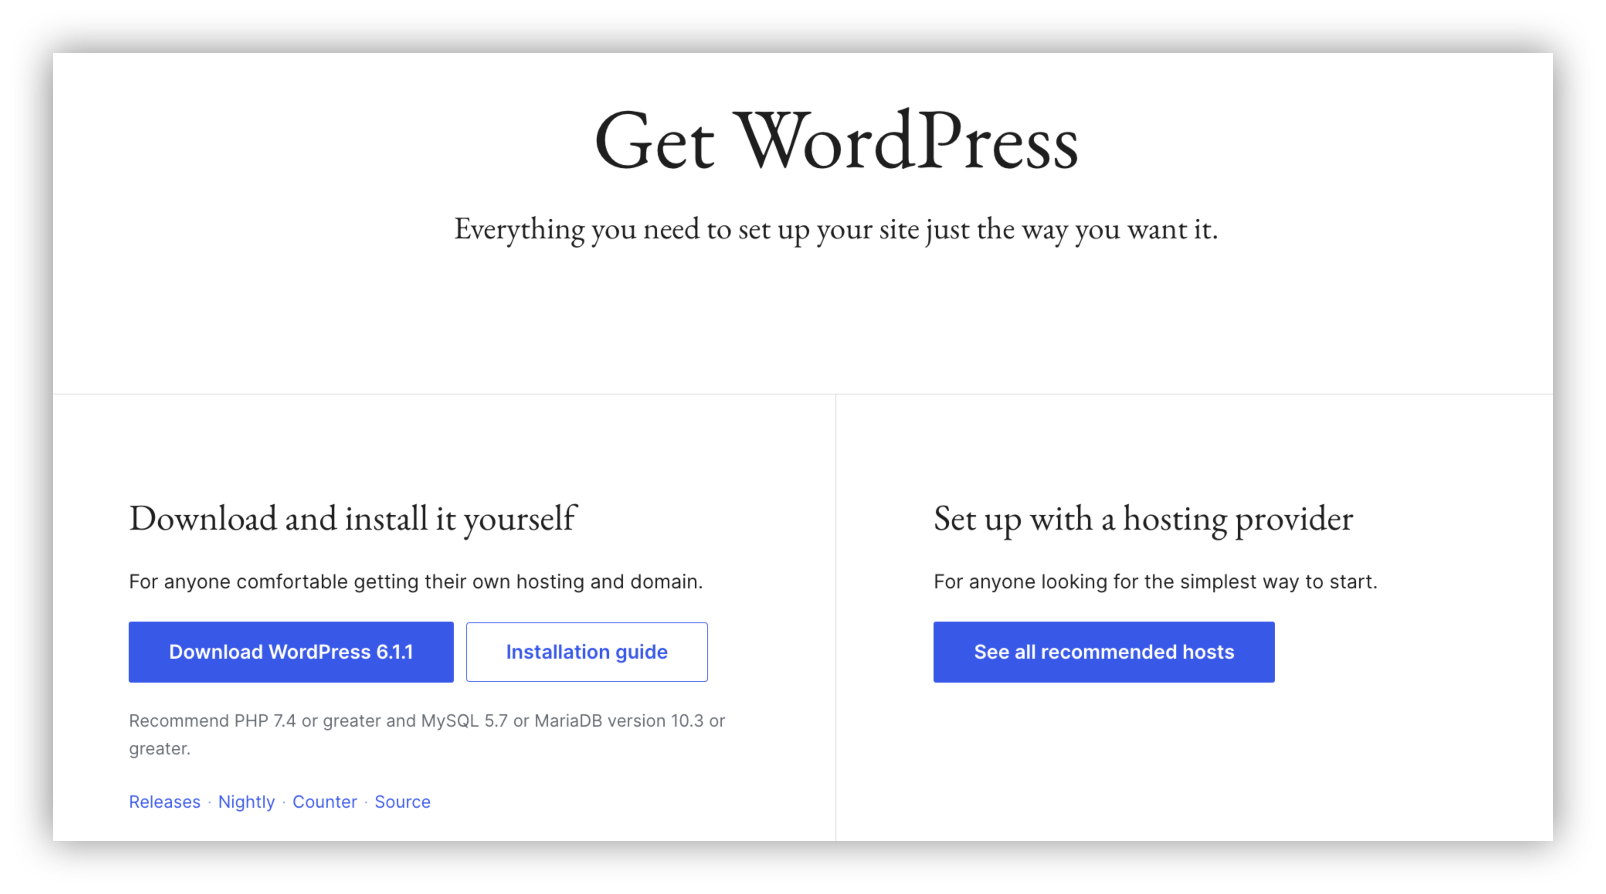
You can create a new WordPress installation using a one-click installation from your hosting provider, or you can do so manually by downloading the files from WordPress.org.
Turn your WordPress installation into a network
Then, you can turn your site into a network by following this guide. To summarize, here is what you need.
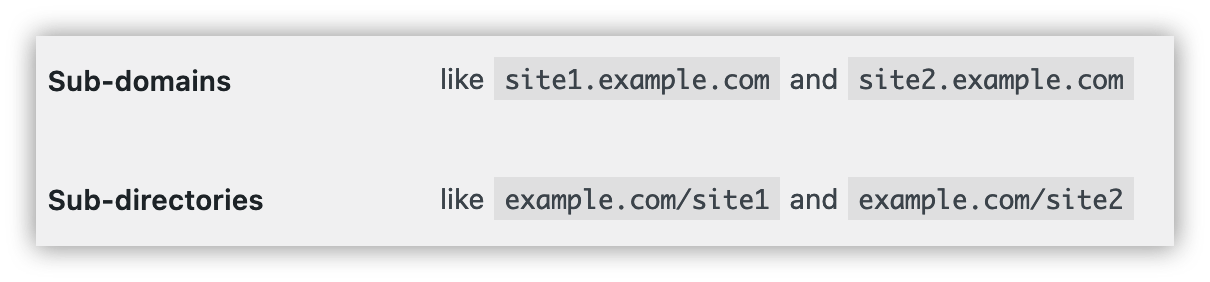
Pick between path and subdomain installation
You can create new websites as paths of a main website (example.com/newsite) or as subdomains of the main website (newsite.example.com). In this case, we will explore the path option, but feel free to play around with subdomains as well.
Run a full backup
If this isn’t a new site, run a full backup to make sure there will be no data loss.
Edit the wp-config.php file
Add this code to your wp-config:
define( 'WP_ALLOW_MULTISITE', true );
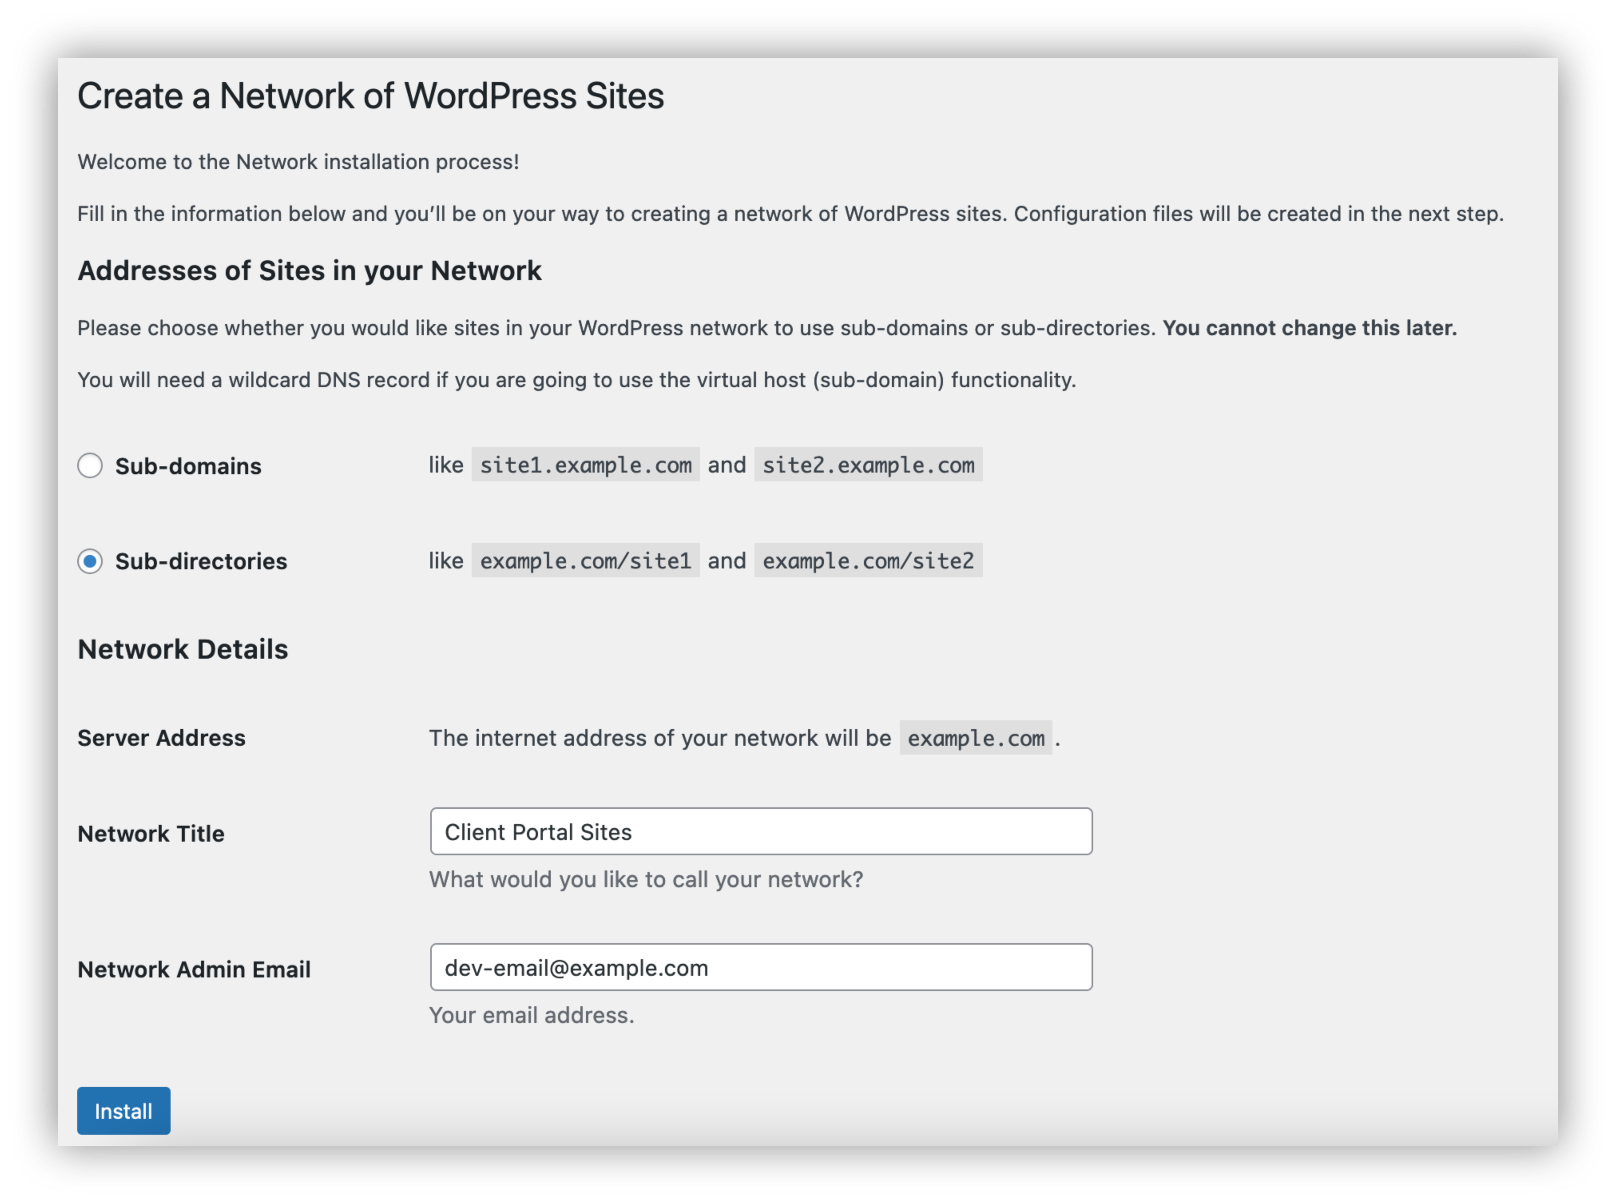
Run the setup wizard
Go to wp-admin > Tools > Network Setup. Select the network mode you picked in the first step. Click on Install.
Edit the .htaccess file
Edit the .htaccess file to add the code that you see in the setup wizard.

Create a client site
In this step, you will create a base website for a client, which can be copied for your other clients.
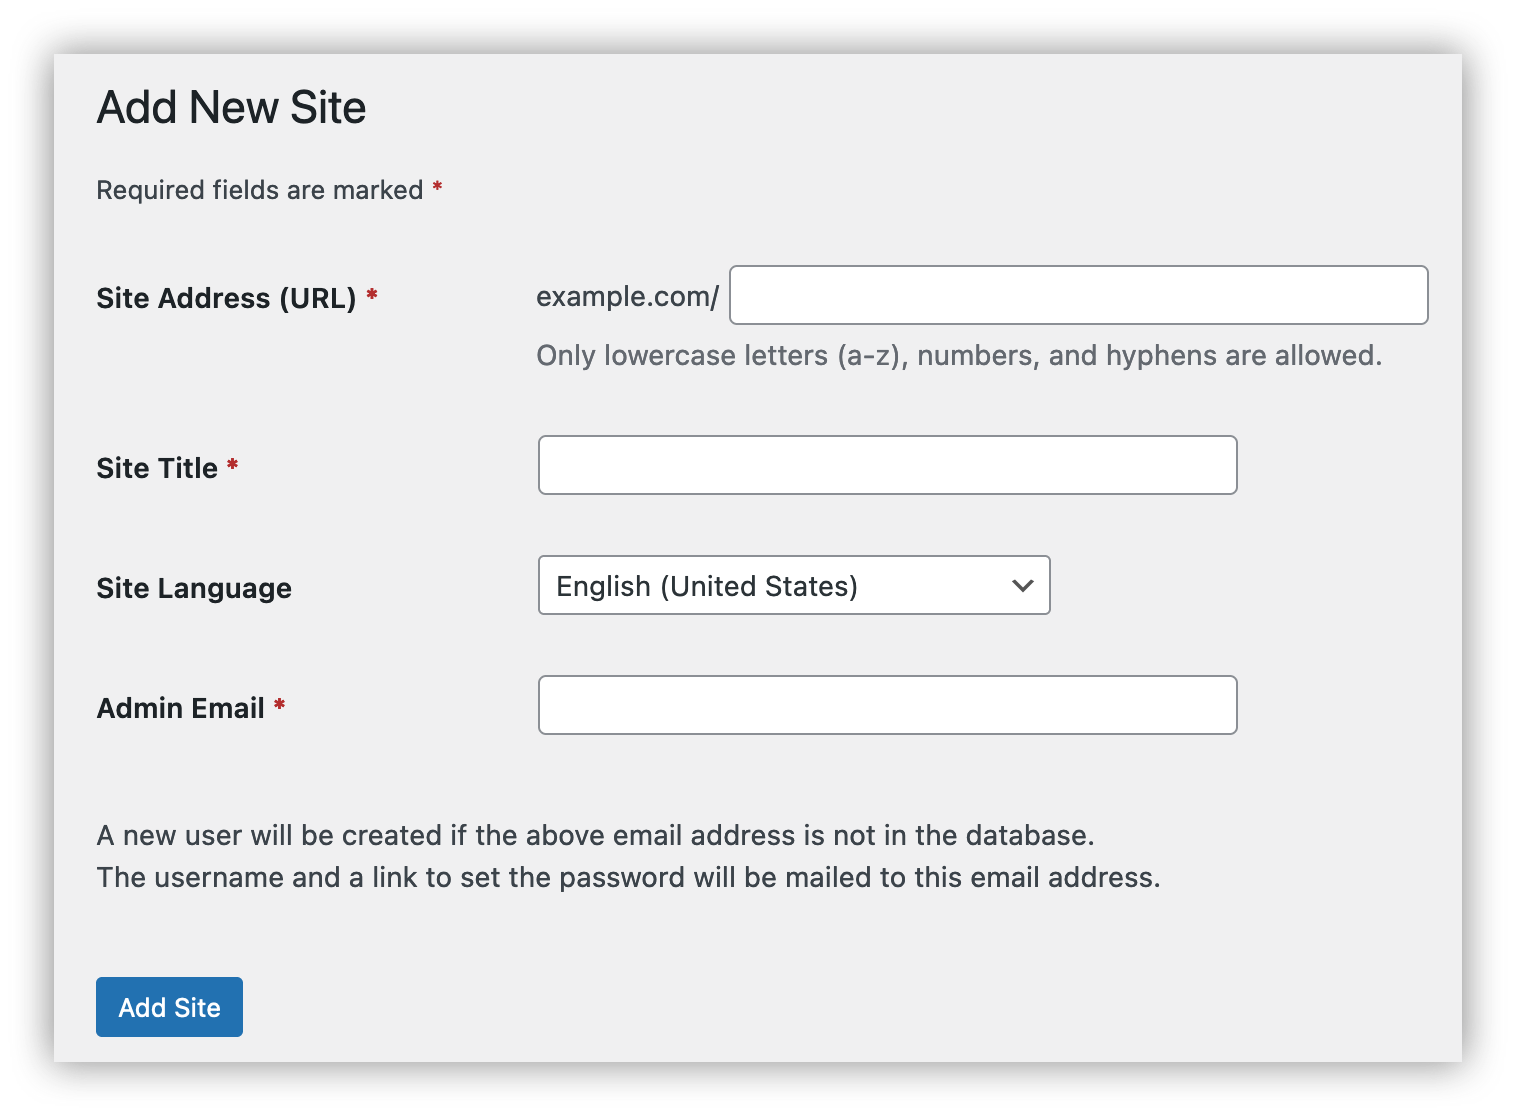
Add a site to your network
Under the main website admin dashboard, go to Network Admin > Sites > Add new.
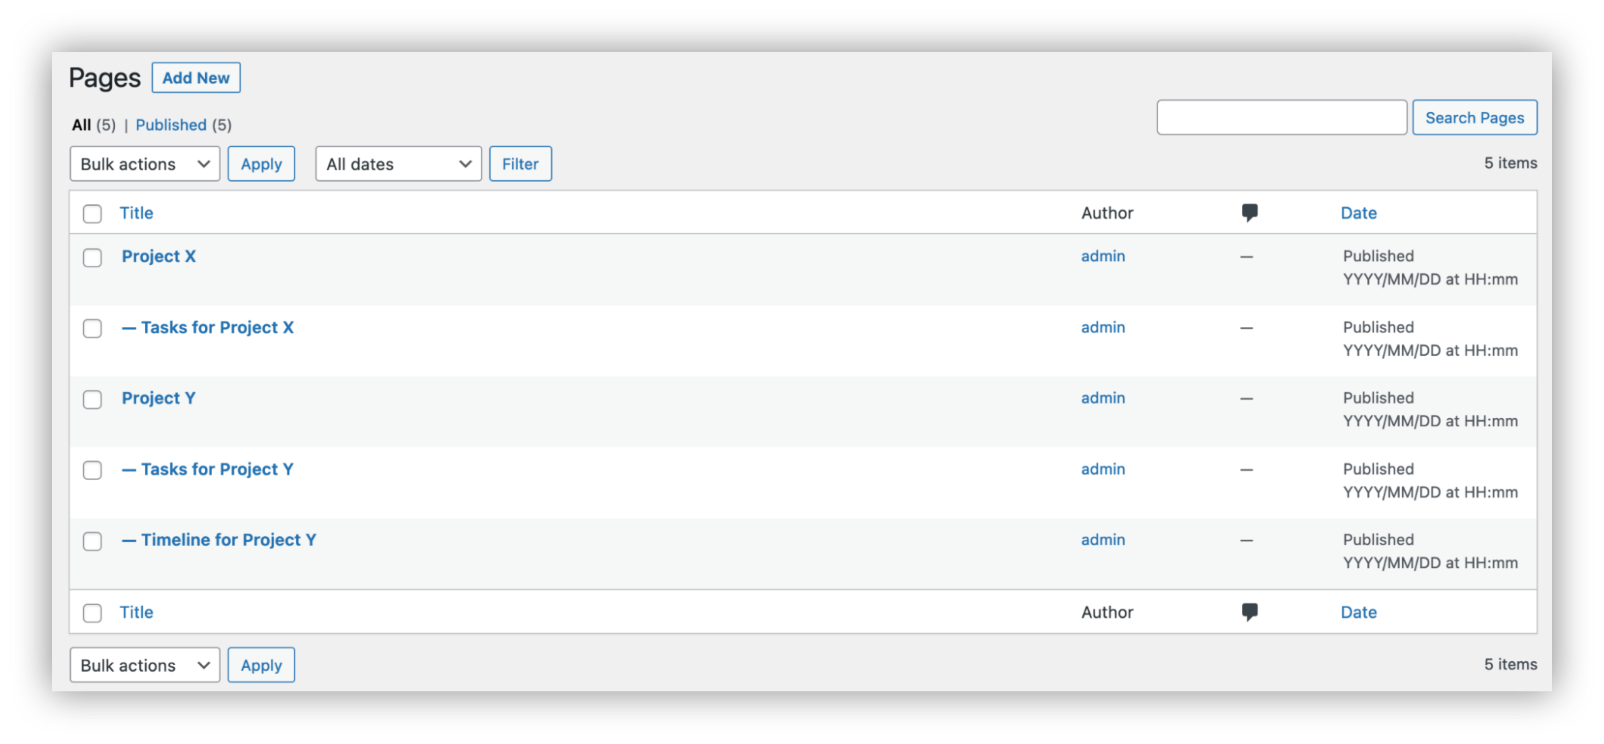
Add some demo pages for your projects
Add a few demo projects, so that clients will know where they can find them.
You can add pages for each of your projects, as well as sub-pages for tasks, timelines, and invoices.
Add a coming soon mode plugin
All this content might be public if unauthorized users visit the subsite URL directly.
Add a coming soon plugin to prevent unwanted access to your client portals. Go to My sites > Network Admin > Plugins > Add new

User registration
You can either add clients manually to their sites, or allow them to register.
Allowing user self-registration
Go to My Sites > Network Admin > Settings > General. Check “user accounts can be registered.”

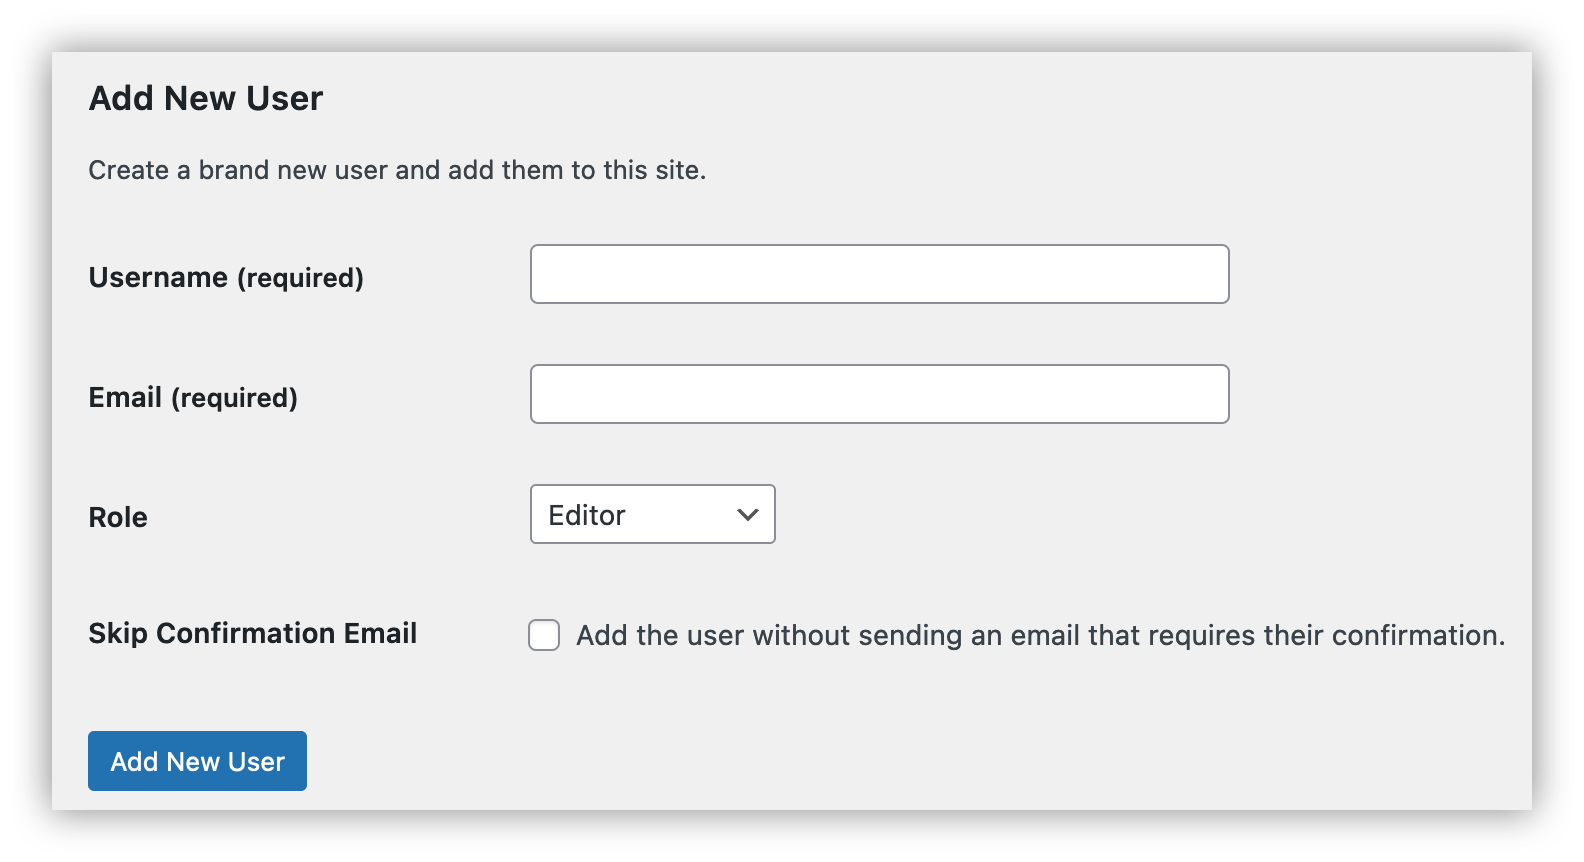
Manually creating client accounts
Another option is to manually create users for your clients.
Go to wp-admin > users > add new, and fill in the login information under “Add New User”:
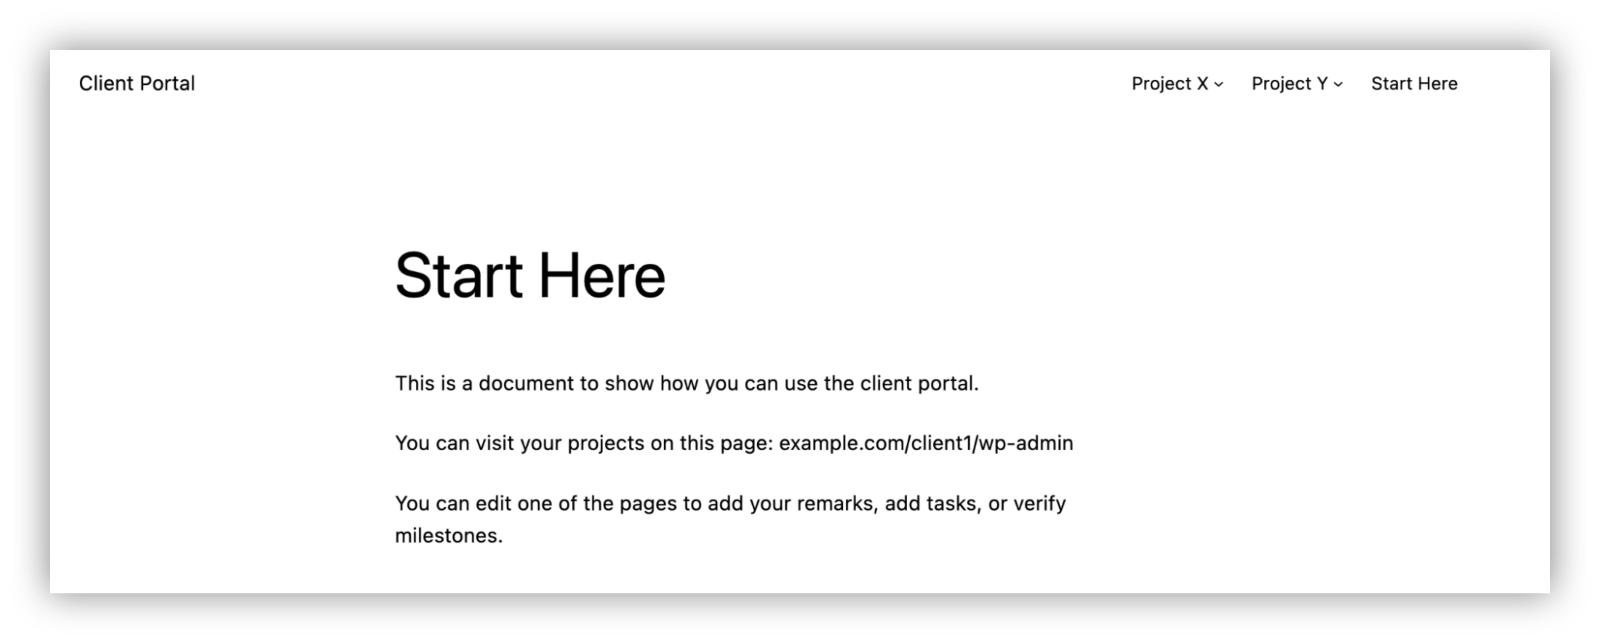
Teach clients how they can use it
Your clients might be lost when they first visit your client portal.
Create a page with instructions, so that they know how to add projects, media, tasks, and check documents.
How to create a client portal in WordPress using a membership plugin
Cost: $0
Time: 1h
You can create a client portal using membership plugins. In general, they allow you to create private content, private pages, and allow users to upload data.
Your main concern in this case is to make sure that clients don’t see other clients’ contents, given that they are all on the same website.
You can achieve this by using different membership levels. So each page is assigned to a membership level, and users won’t be able to see them.
Create a new WordPress installation
Create a new WordPress installation. You can use your hosting provider’s one-click WordPress installation feature, or manually download WordPress from WordPress.org and install it manually.
You could use your current website, but it’s safer to keep your client portal completely separate from your main website.
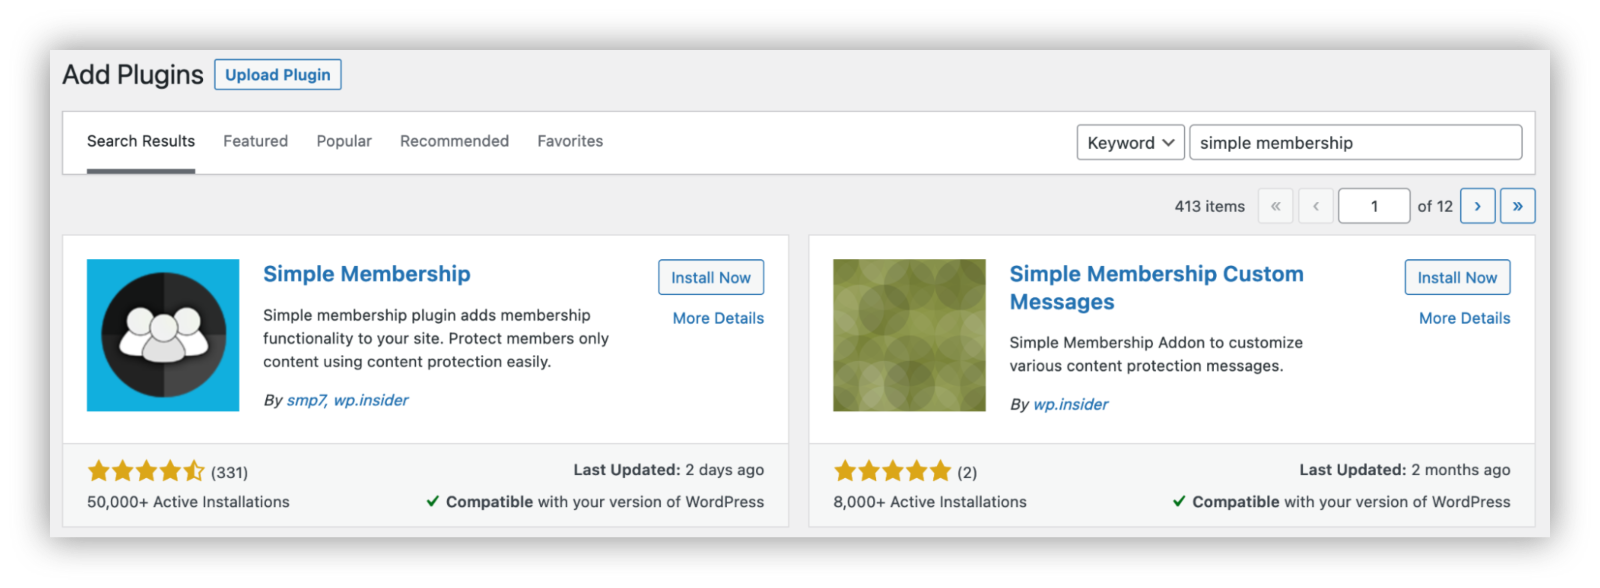
Install membership plugin
Install a membership plugin. There are many options, but Simple Membership is a good one:
The next steps depend on how your membership plugin works, but the general idea is the same for each of them.
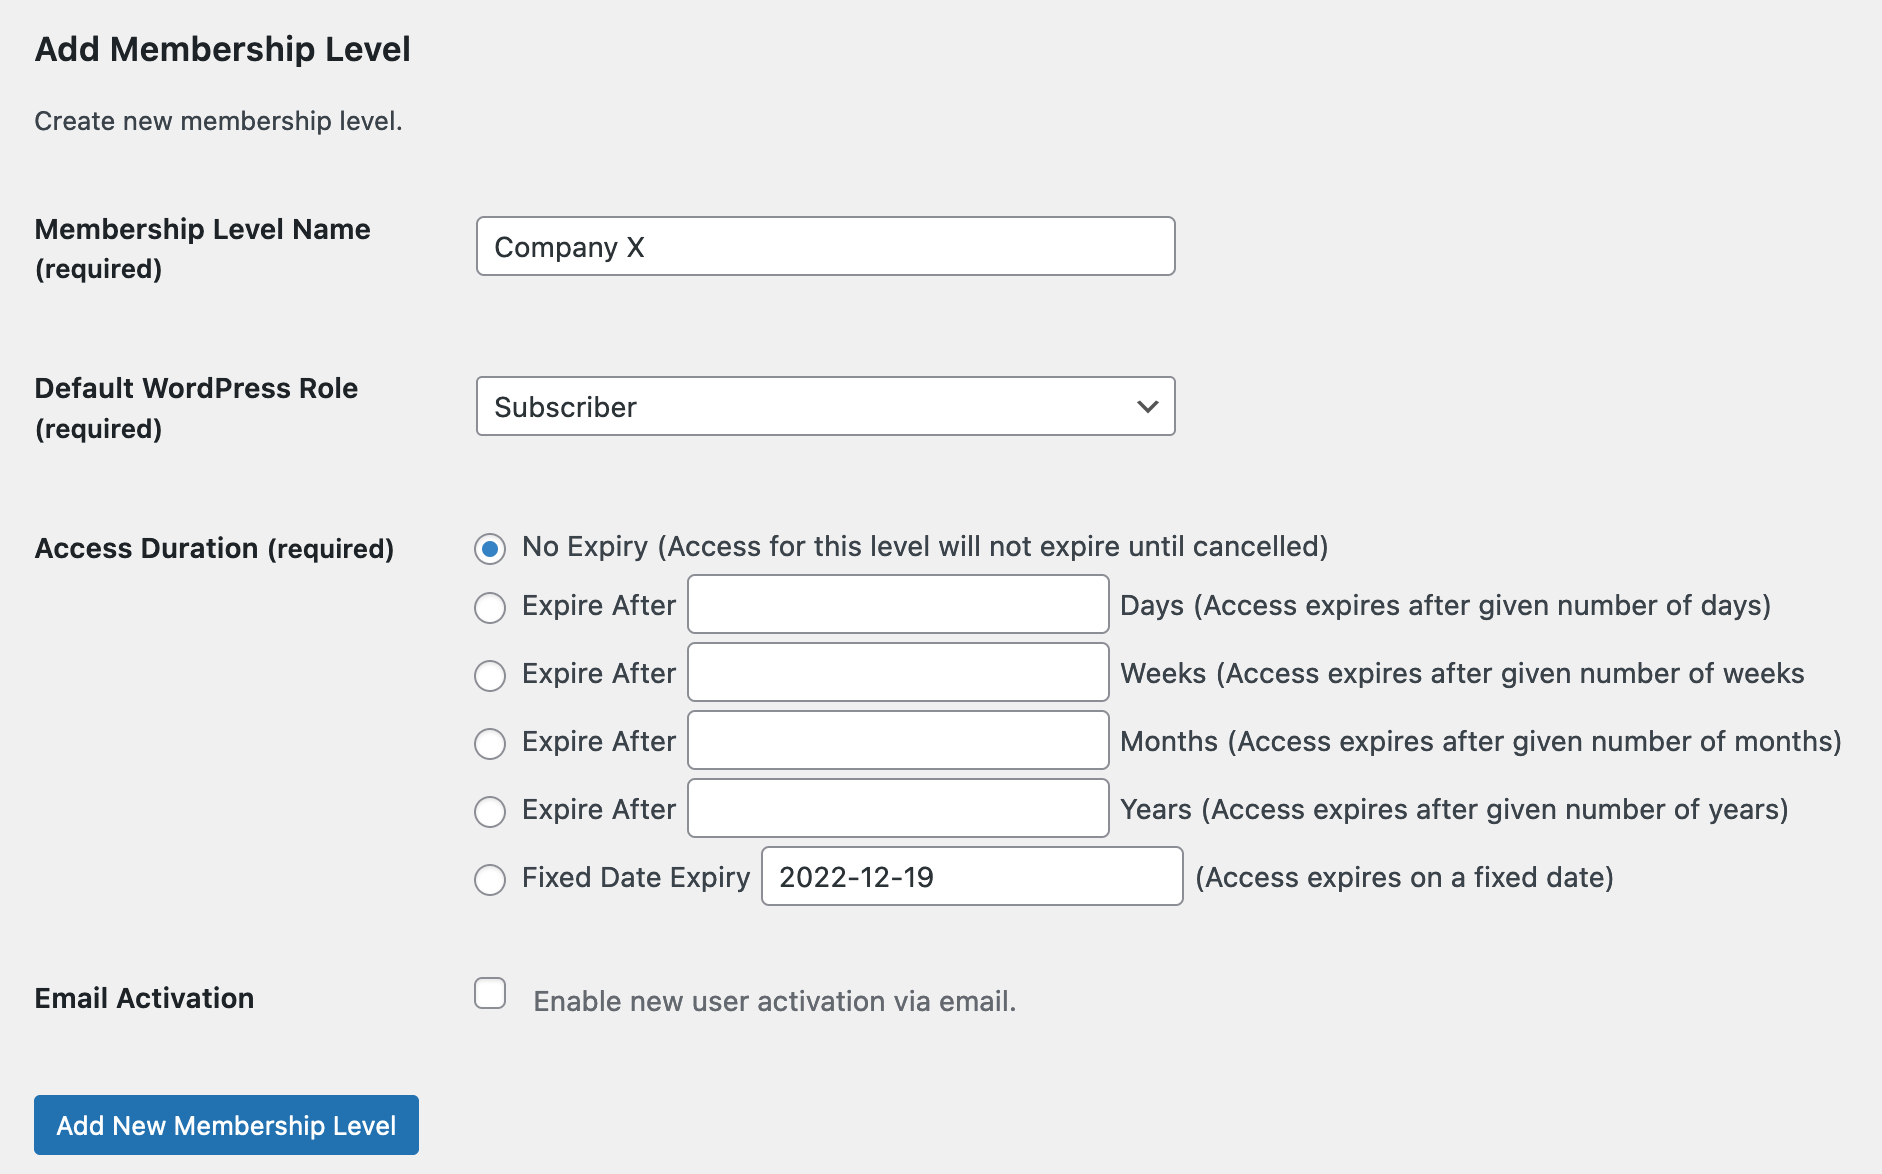
Create a new membership level
Create a new membership level for each of your clients. This ensures that they will only see content that you want them to.
Go to Wp-admin > WP Memberships > Add new.

Add the membership details
Add the details about the membership level for this client. You can create a new level for each of your clients to make sure that they only see their own content.
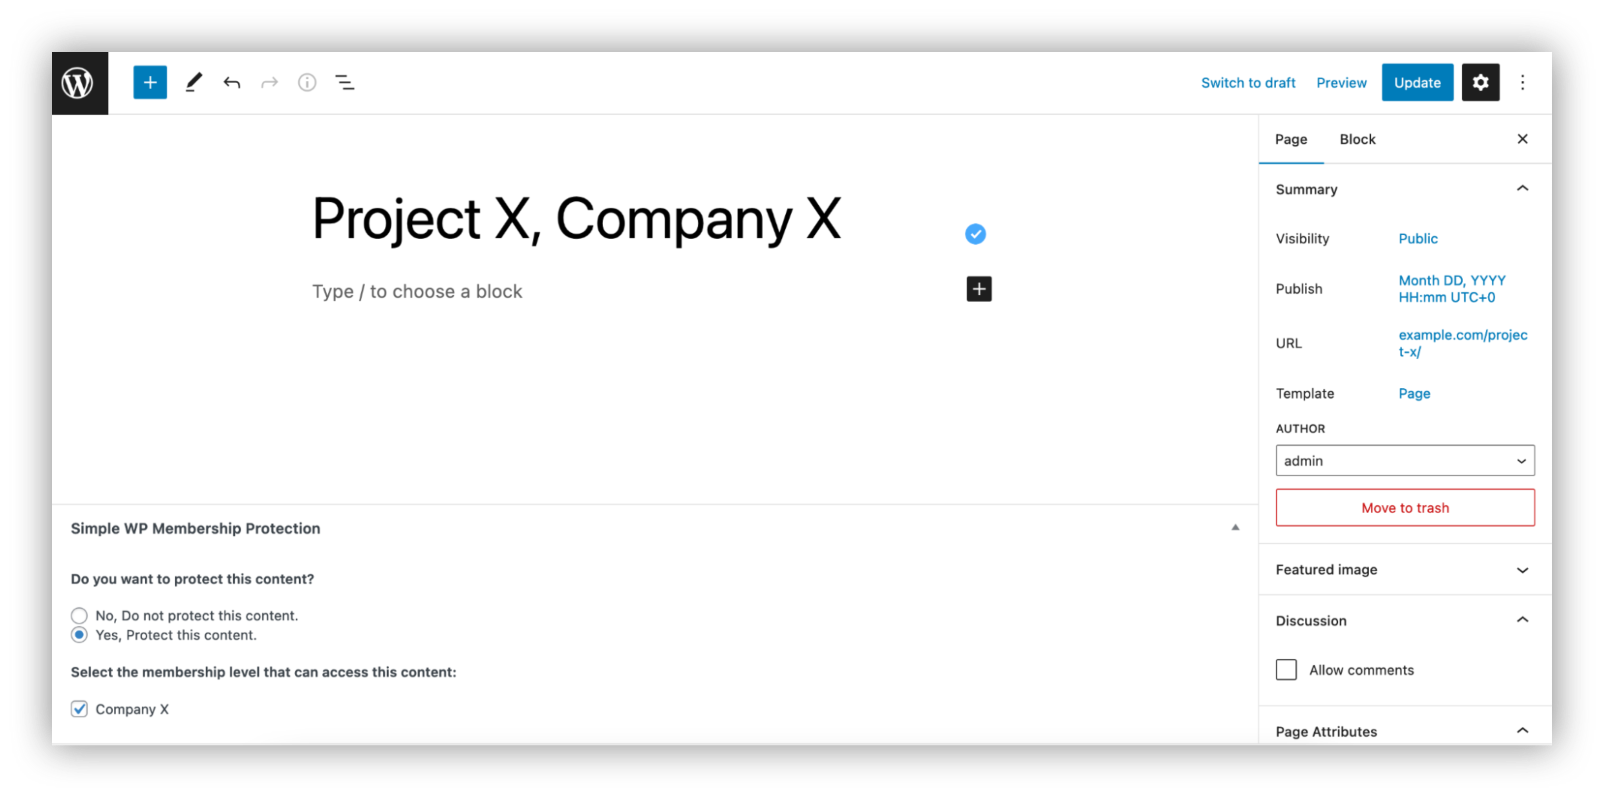
Create documents and pages for them
Create new documents and use these newly created membership levels in them. For example, you can create a new page for Project X, Company X. In it, make sure that the membership level is “Company X”.
This allows all users from Company X to have access to these pages. They can interact with you using the comments section.
Improve the workflow
You can improve how your client portal works by adding new membership levels automatically, allowing user file uploads, allow users to create posts and pages for projects and tasks.
How to create a client portal in WordPress with protected pages
Cost: $0
Time: 1h
This method is quite similar to creating a client portal with a membership plugin. But in this case, you’ll manually set the pages as password protected.
After that, you can share links for these pages and passwords with your clients.
Create new pages with password
Add new WordPress pages. Make sure that you allow comments in the “Discussion” section and to change visibility from Public to Password Protected.

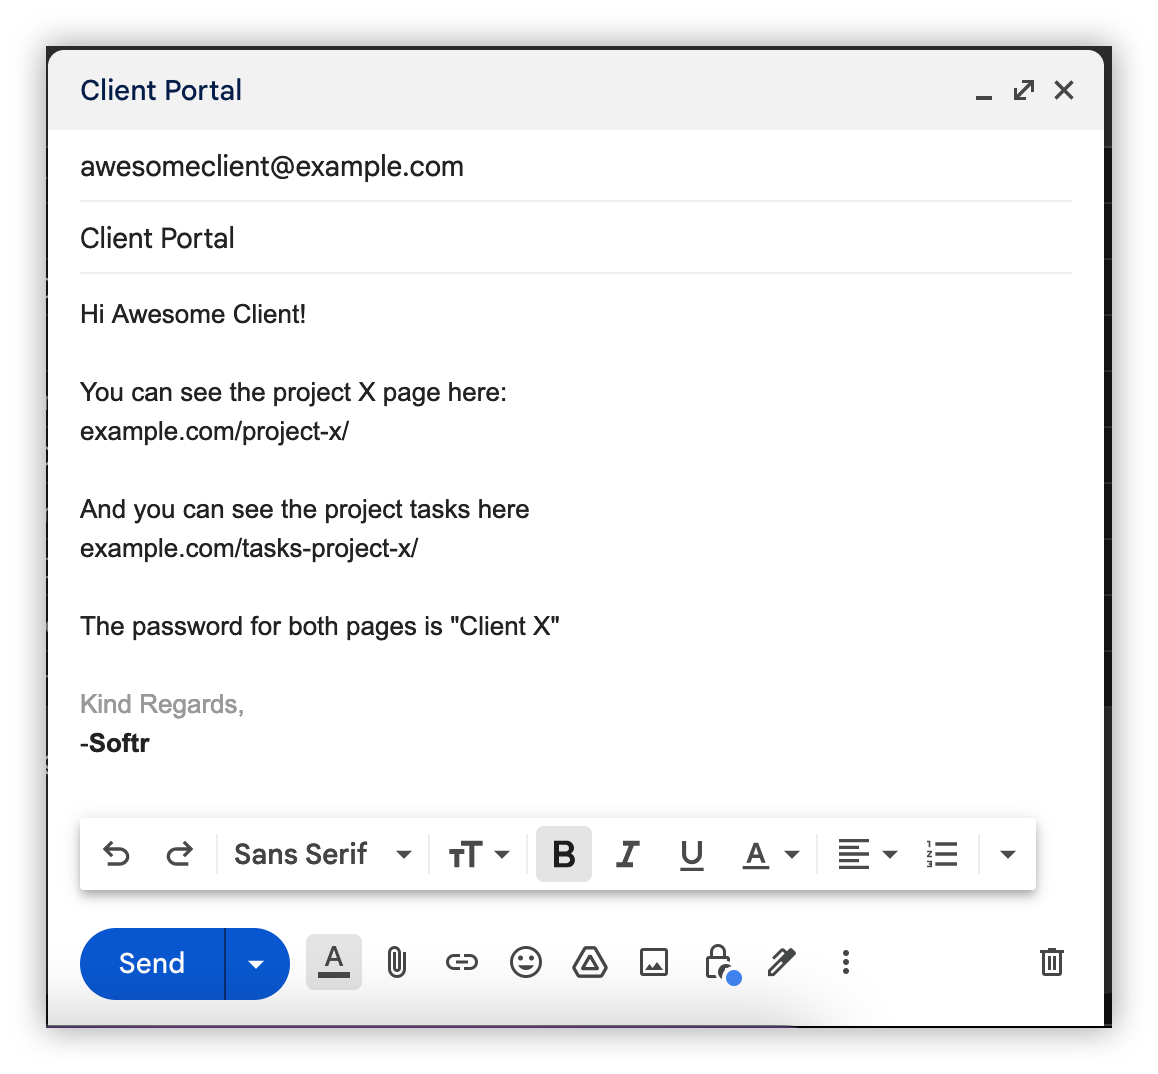
Send pages to your clients
Send your clients the links to these pages along with their passwords.
Preferably, use a single password for all pages of each client. This allows them to quickly see all projects, without having to memorize a lot of different passwords.
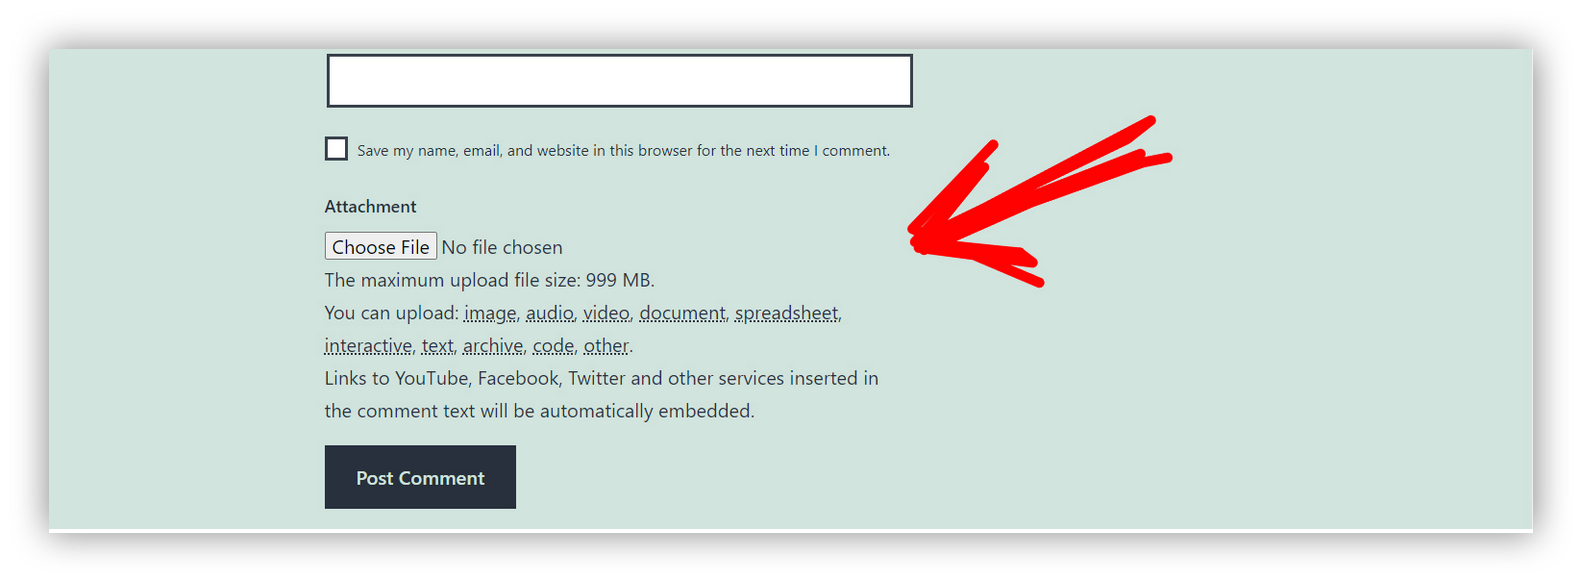
Allow file uploads in comments
You can use a plugin to allow for file uploads or richer comments.
A plugin such as DCO Comment Attachment allows your clients to upload images, audios, videos, spreadsheets, documents, code and more.
Frequently asked questions about client portals
How does a client portal work?
A client portal allows clients to see their projects, download files, sign documents, manage tasks and interact with your team.
They are accessible online, and clients can sign up by themselves, you can create their usernames, or you can automate the sign up process to start after their order is paid.
Does WordPress have a client portal?
WordPress doesn’t have a client portal by default. You can use three methods to create client portals in WordPress:
1. Create a network install - give clients access to their own subsite, with content about their projects
2. Using password-protected pages - using a single site, so only visitors with passwords for these pages can see them
3. With membership plugins - creating pages restricted using different membership plans, so each client has access to their own content only
How much does it cost to build a client portal?
You can build a client portal for free using tools like WordPress or Softr. But there are paid tools as well.
In general, the price of your client portal comes down to how much data you have, what kind of features you are looking for and how much time you want to spend building and maintaining it.

Rochester Oliveira


Categories


.webp)