


Today, you’ll learn how to integrate OpenAI with Airtable. You can achieve this without using any additional services or paid tools, simply by utilizing OpenAI and Airtable. While we will be using GPT-3.5-turbo as an example, you can apply the same template to other models, including those for image generation and audio transcription.
By the end of the day, you should be able to integrate OpenAI with Airtable to generate answers to your prompts. You can extend this to more complex tasks such as generating content calendars, editing content, and summarizing texts.
In order to get OpenAI in your Airtable databases, you will need access to the OpenAI API and access to the Airtable Scripting extension.
You can sign up for the OpenAI API and get some credits for free. Right now, you get $5 when you sign up, but this amount varies.
There are many ways to implement integration. In our example, we are using the OpenAI GPT API to answer a prompt in a specific cell. However, you could make it answer all cells in a table and generate content in bulk. Please note that this may consume a significant amount of tokens at once and thus can be risky.
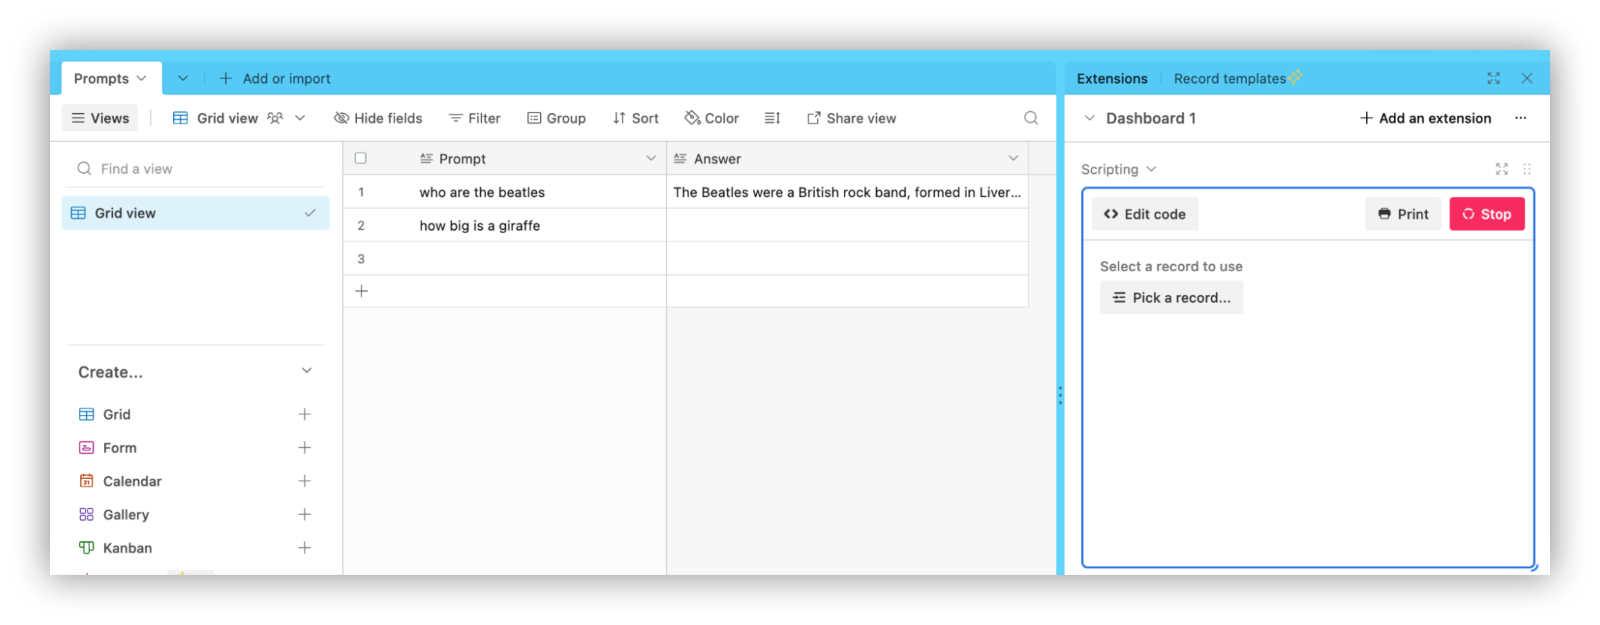
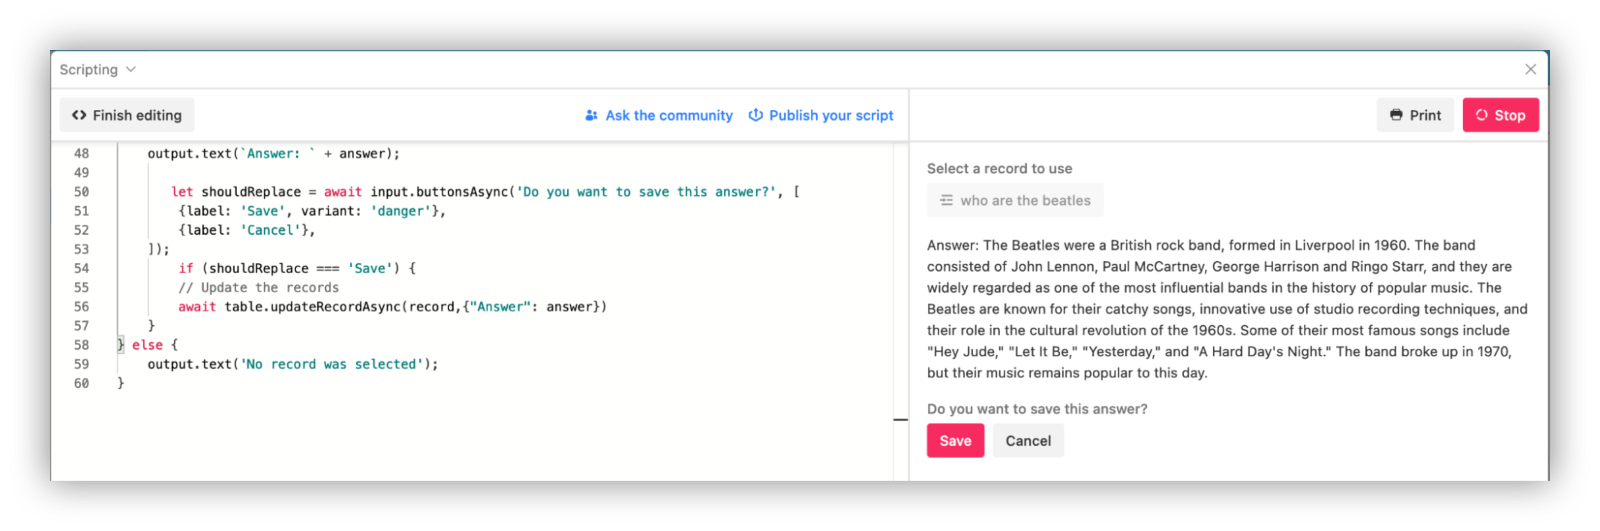
In this example, you’ll run the script and select a record on the right-side panel:
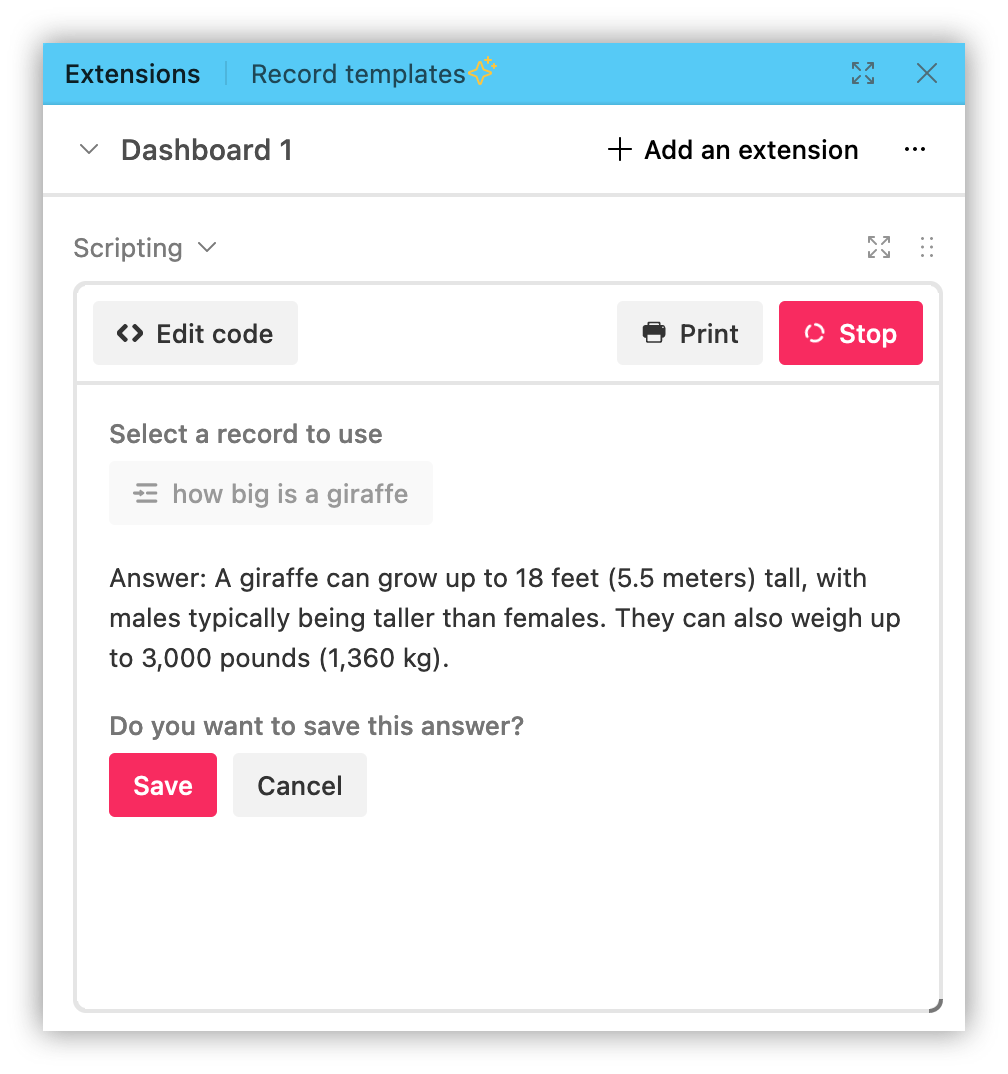
And once you pick a record, you’ll see the answer and you can save it to the table:
It’s important to notice that OpenAI charges different prices depending on the model you use. The GPT4 model is more advanced, but it costs a lot more. There are other older models that you can use in some edge cases, but in general, the GPT-3.5-turbo model yields the best results for a lower price. This model, which is used for ChatGPT, costs $0.002/1k tokens. This means that you can process 500k tokens for just $1.
A token is equal to about 4 characters or 0.75 words, but it depends. Some sentences and word combinations can get you more characters per token or fewer. In general, you can process about 350,000 words with $1. Keep in mind that OpenAI charges processing both the prompt and the answer.
How to create an OpenAI GPT API account
Cost: $0
Time: 1h
OpenAI is not limited to ChatGPT. It contains a lot of different AI tools that you can use via the browser or using the API access. This includes the GPT-3.5-turbo model, other text-based AI models, DALL-E, Whisper, and more.
In terms of responses and data processing, the ChatGPT tool accessed via browser and the GPT-3.5-turbo model API are the same. It is just a different interface to either GPT 3.5 or GPT4. The GTP4 API is in closed beta, though, so even if you have ChatGPT Plus (with GPT4), you aren’t guaranteed to have GPT4 API access.
To access the API, you need an OpenAI account and an API token that is included in your code.
Let’s walk through it.
Step 1: Reach the sign-up page
Go to the sign-up page. Sometimes, OpenAI requests solve a captcha to prove that you are human.
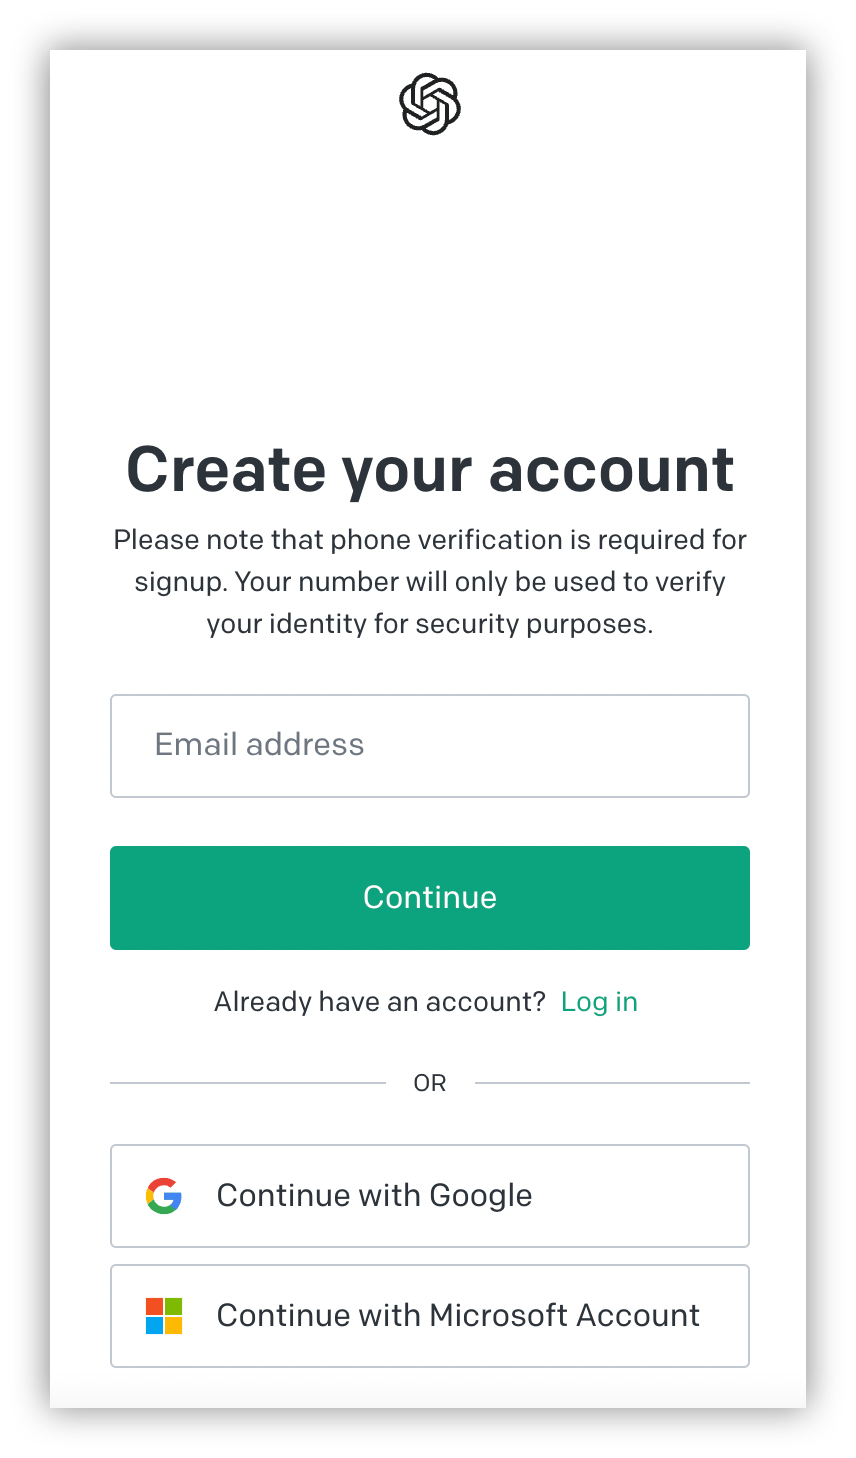
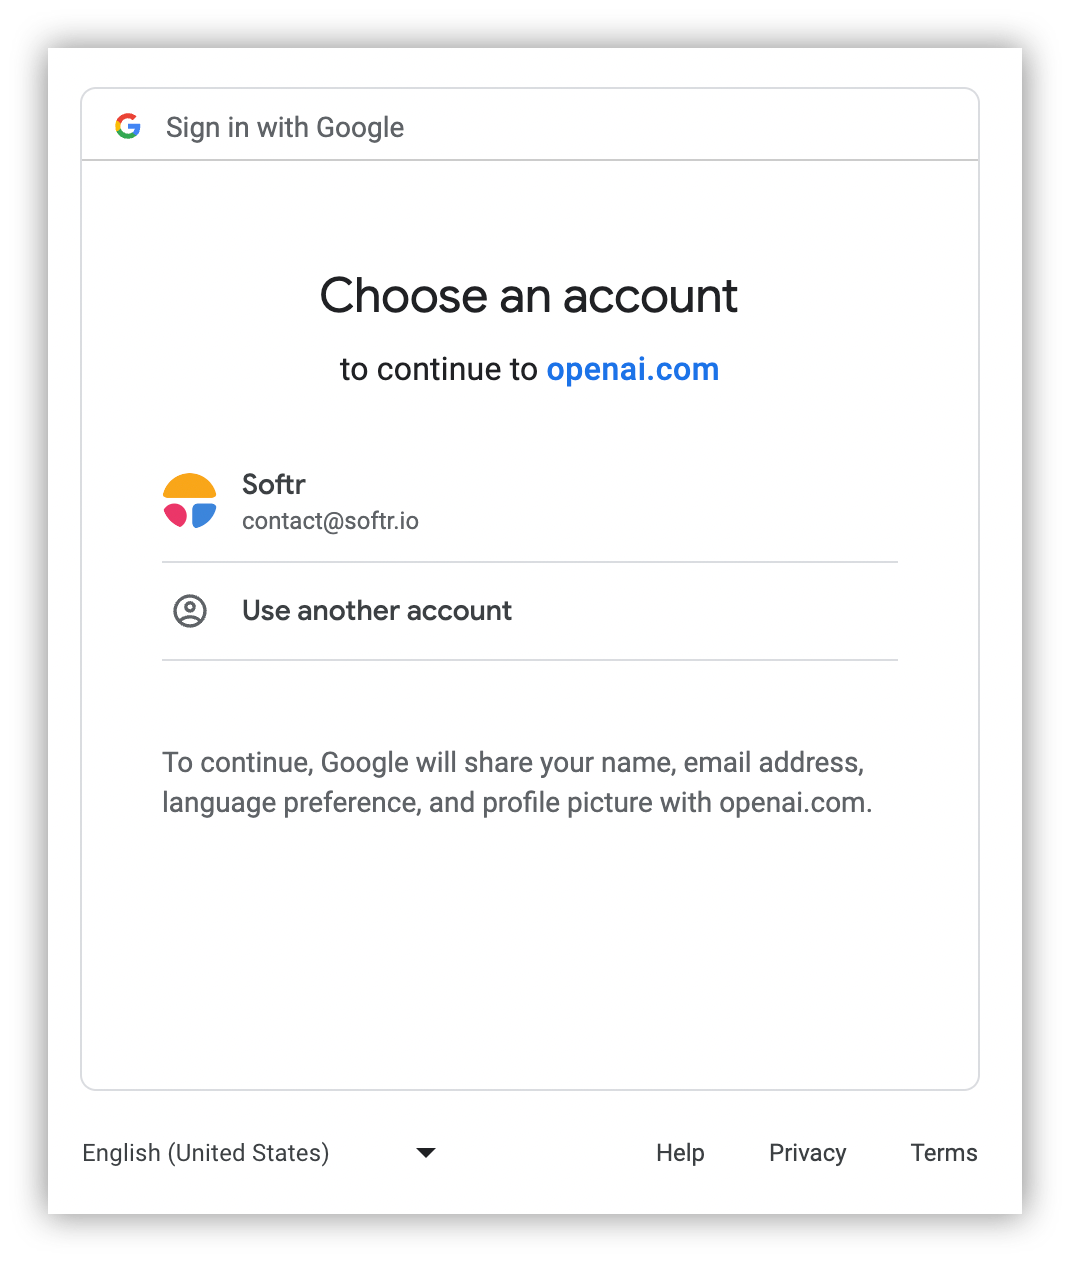
Step 2: Use a Google or a Microsoft account or enter your email
Use a Google or Microsoft account to sign up. Alternatively, you can use your own email, which might require additional verification steps.
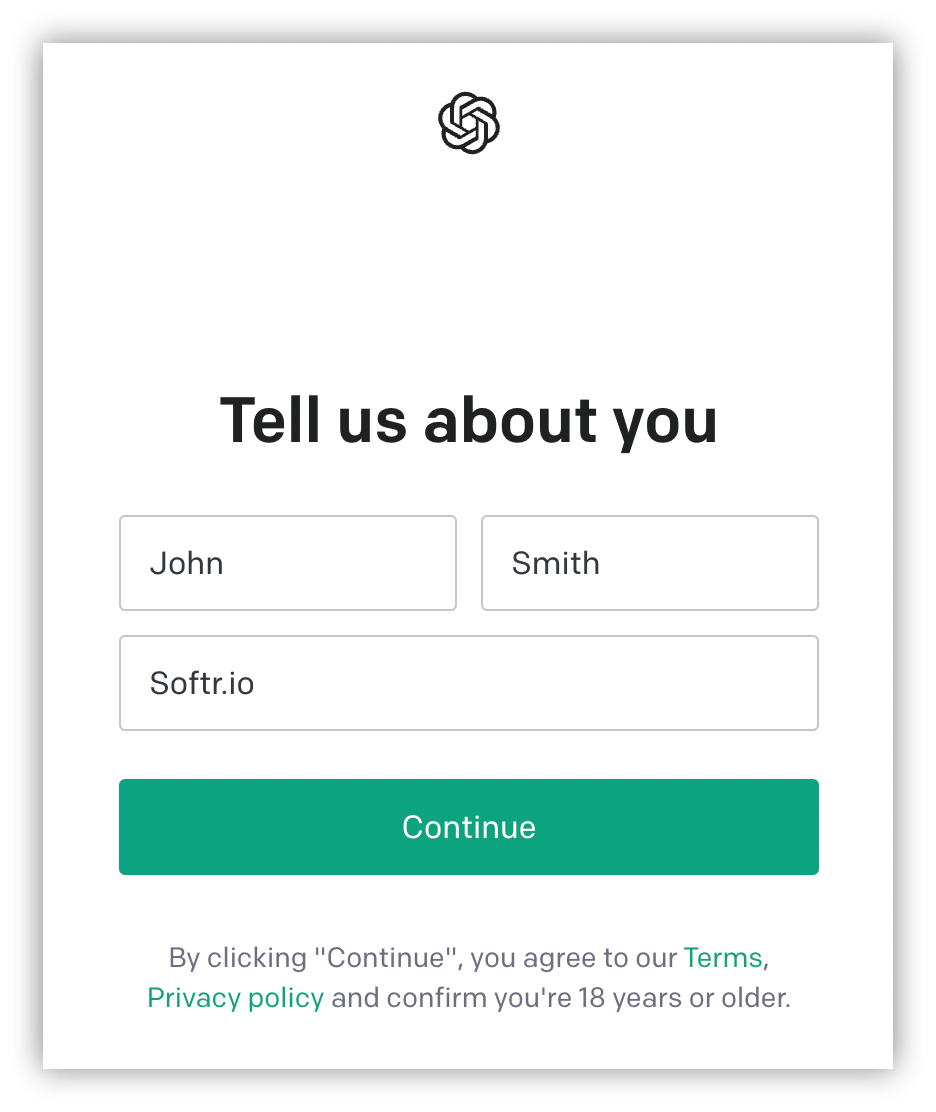
Step 3: Add your name and company to your profile
Once you sign-up, you need to add your first name, last name, and organization name.
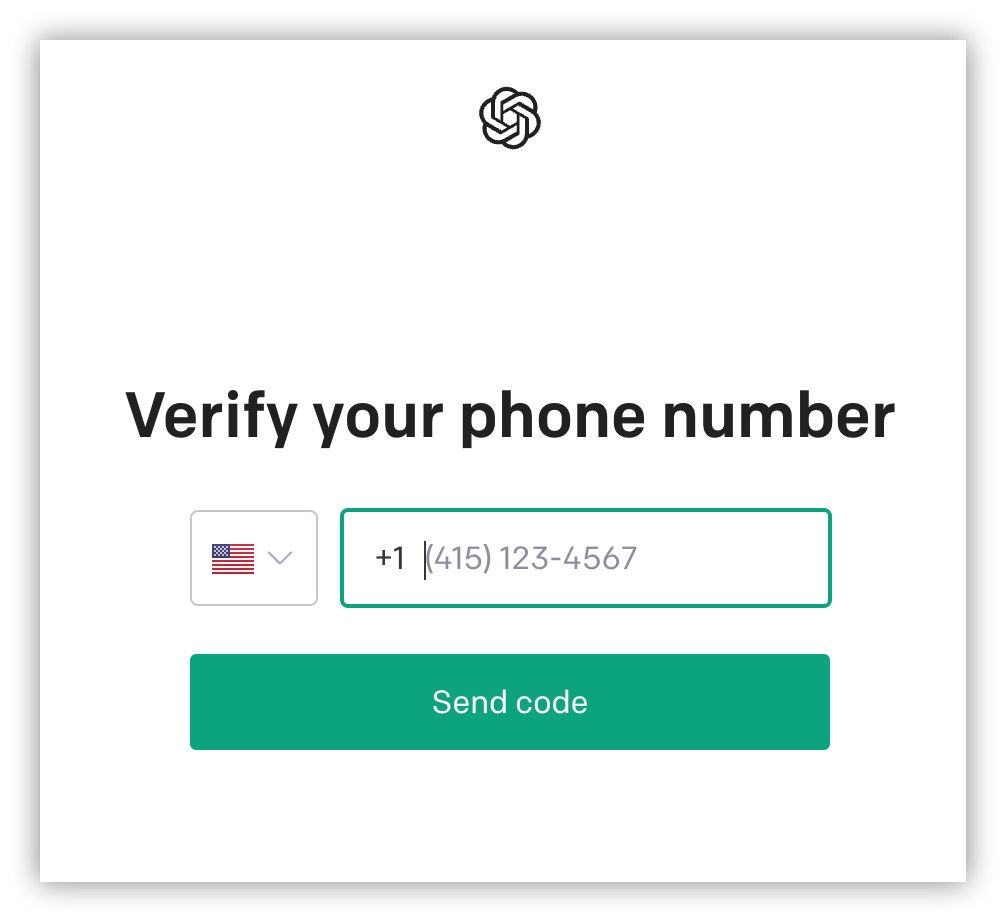
Step 4: Add a phone number
Add a phone number on the next page. OpenAI uses this to prevent abuse since users can try to sign up using bots.
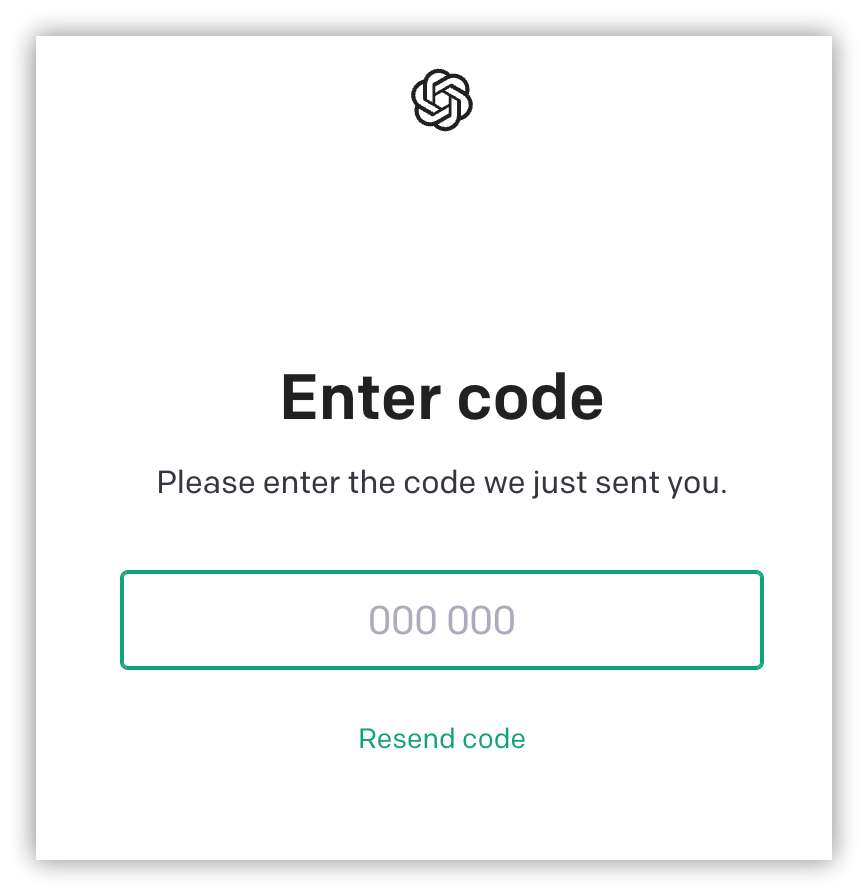
Step 5: Enter the SMS code
You’ll get a text message with the verification code. Enter this code on the OpenAI registration page to complete your registration.
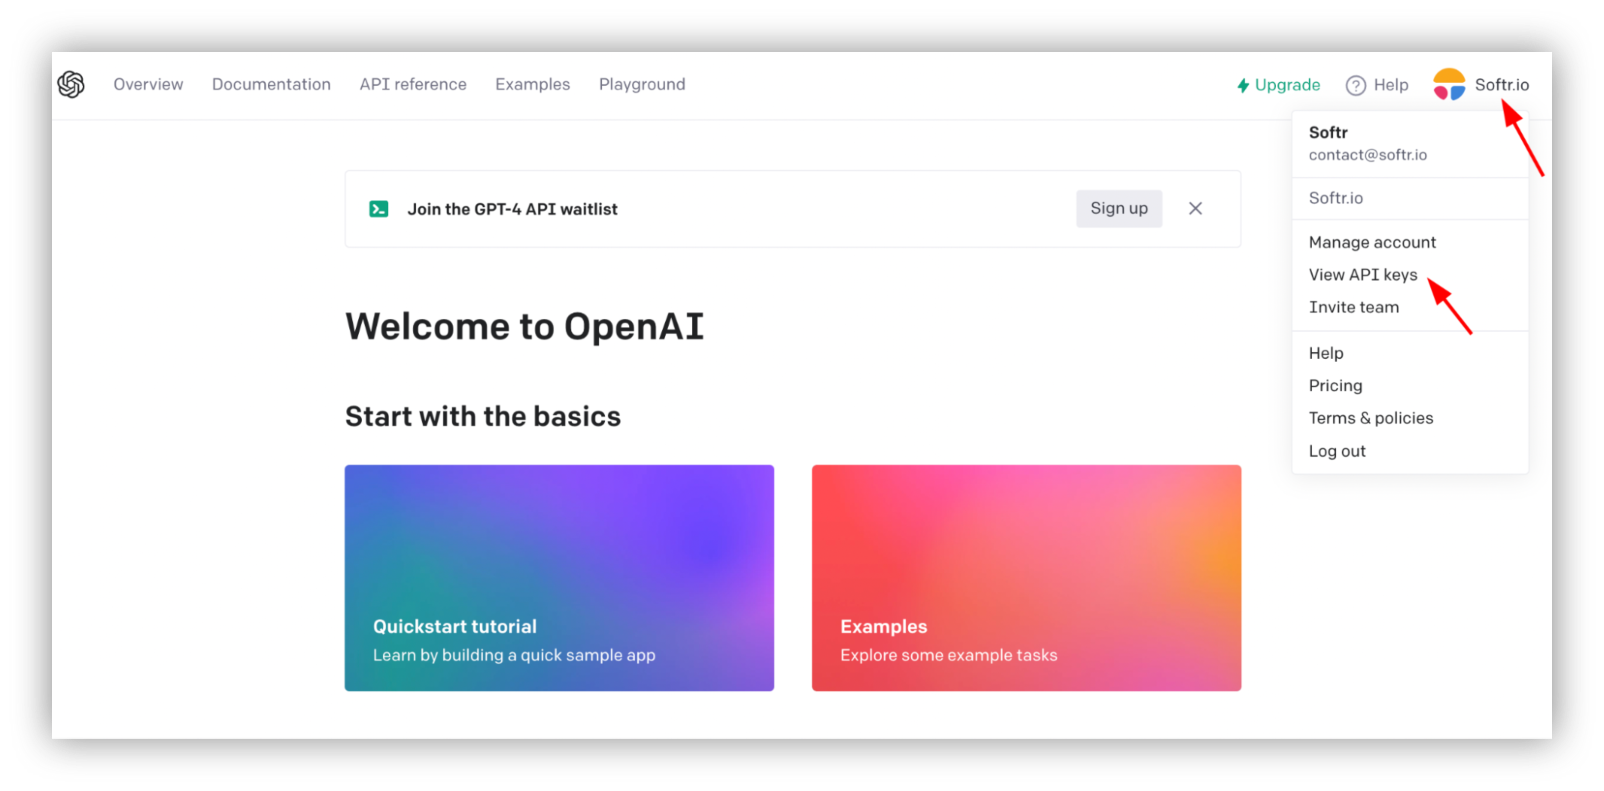
Step 6: Go to your profile > View API Keys
After the SMS verification, you are logged in. Then you need to go to the “View API Keys” page, on which you can manage your API access. To get there, click on your avatar, and click on “View API Keys.”
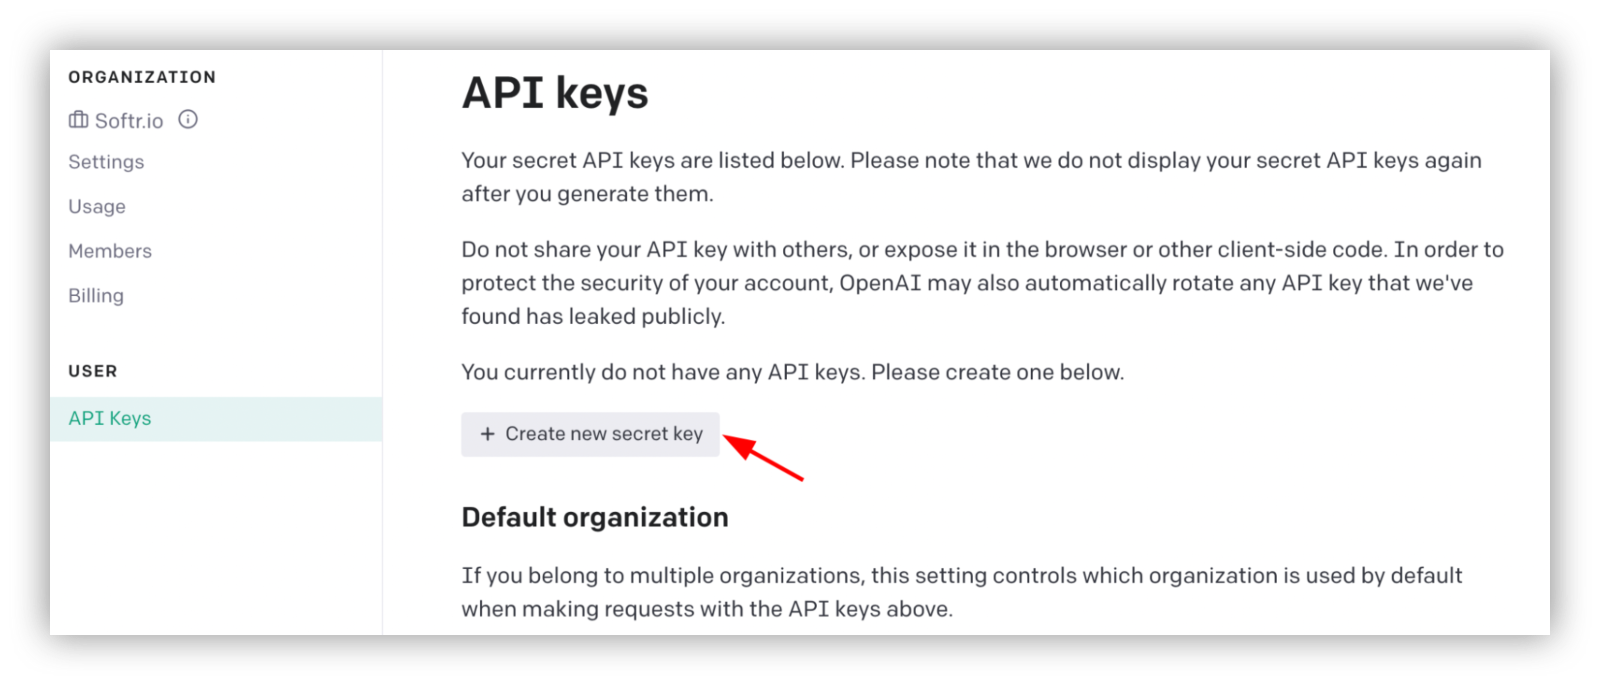
Step 7: Generate a new secret API key
The API access is done with secret keys. They are long text strings that work like a username and password at once. You send this key when you are running your API call, and OpenAI will assign that API call to your user.
For this reason, don’t share this key, and if it leaks, you can delete it.
Click on “Create new secret key” and store your API key in a safe place. You’ll see this key just once, and if you don’t copy it, you’ll need to delete it and generate a new one.
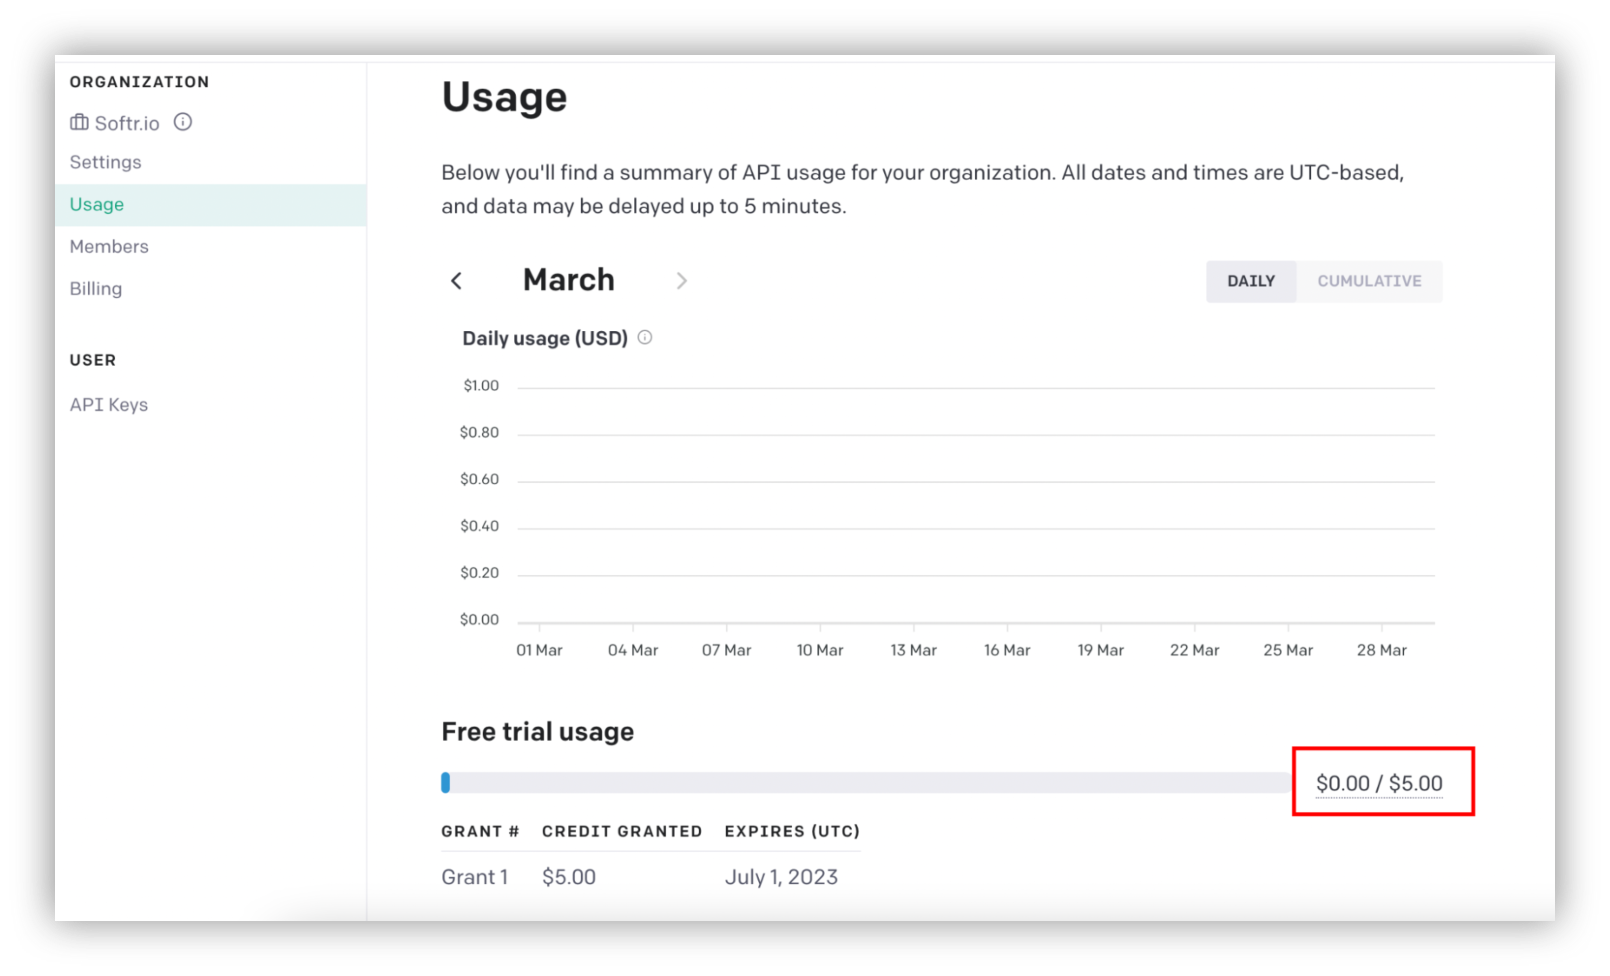
Step 8: Add API credits
Depending on when you sign up, you might get some free trial credits. If you didn’t get them you need to add your credit card on the “Billing” page.
You can check if you have any free API credits under “usage”.
How to create an Airtable account to integrate with OpenAI GPT
Cost: $0
Time: 1h
Once you get your OpenAI API key, you can add it to your Airtable. In this example, we walk you through the process of creating a database just for the AI prompts, but you can integrate it with an existing database as well.
You can do this with a free Airtable account, using the scripting extension to run the API connection. We add a code example with comments explaining each part, in case you want to explore more.
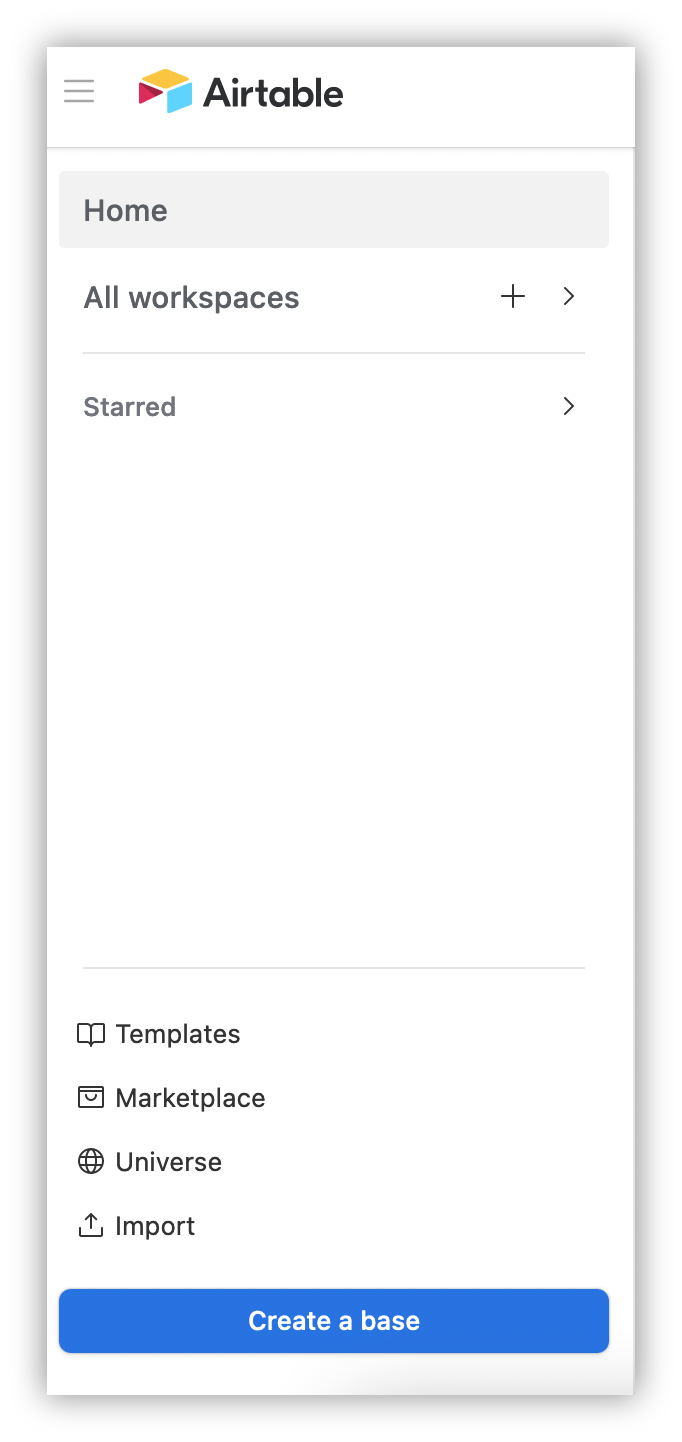
Step 1: Create an Airtable base
Log in to your account and click on “create a base” on the left side menu.
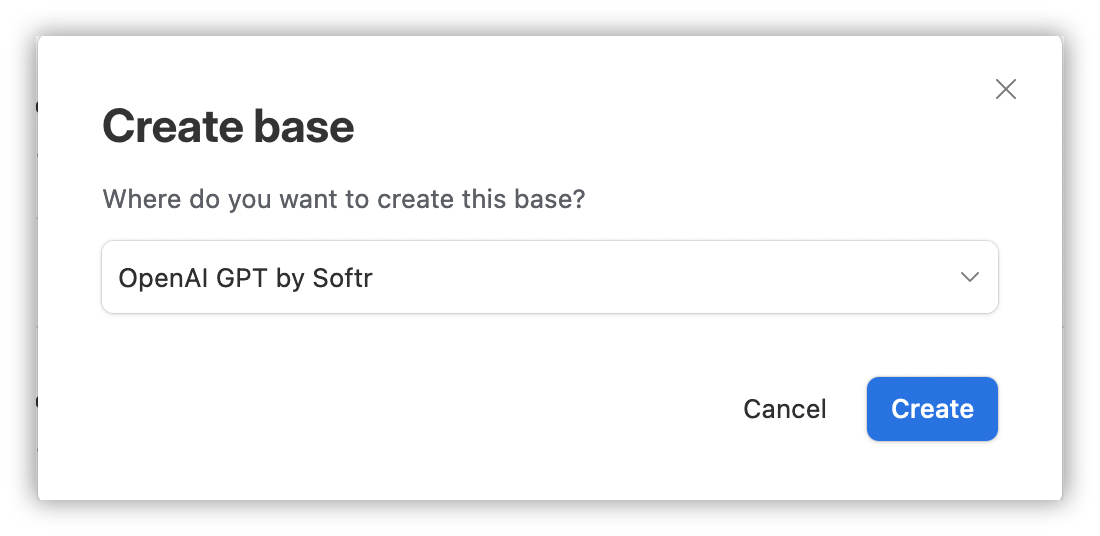
Step 2: Select a workspace
Select a workspace where you want to add this base. You can create a new workspace if you want to.
Step 3: Rename the base and table
Using meaningful names is important not just to correctly identify your tables and bases, but also to refer to them in your code. For this reason, use names that you can quickly recall in your script. If you want, you can just copy the names from our example.

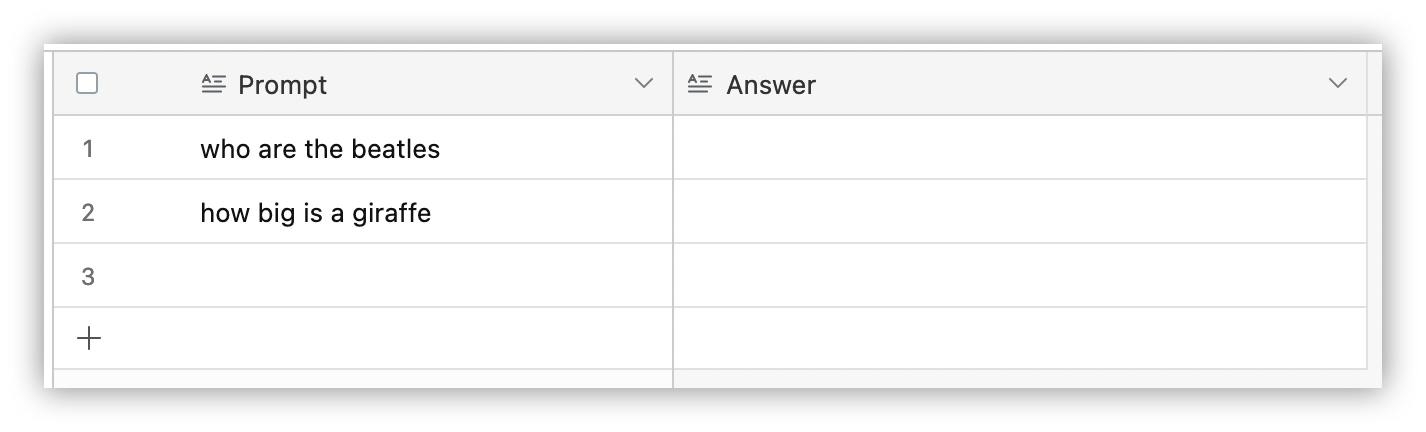
Step 4: Adjust the table columns
The column names are just as important. Also, changing the column format to allow long text might be useful since prompts and answers can get long.
If you want, copy the “Prompt” and “Answer” column names, since these are the names we use in the sample script.
Step 5: Open the extensions menu
Find the extensions menu on the right side and click on it to see which extensions you can add to your base.

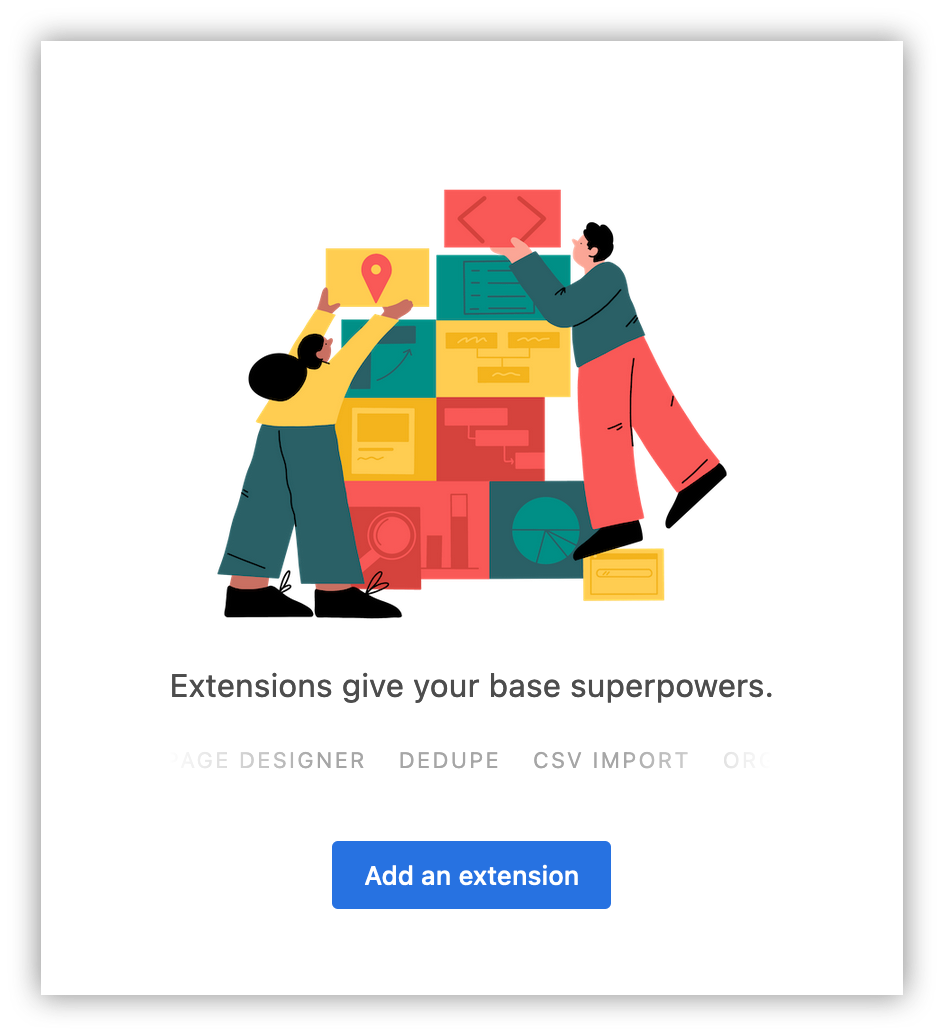
Step 6: Click add an extension
If you don’t have any extensions, click on “Add an extension” to bring the extensions search tool.
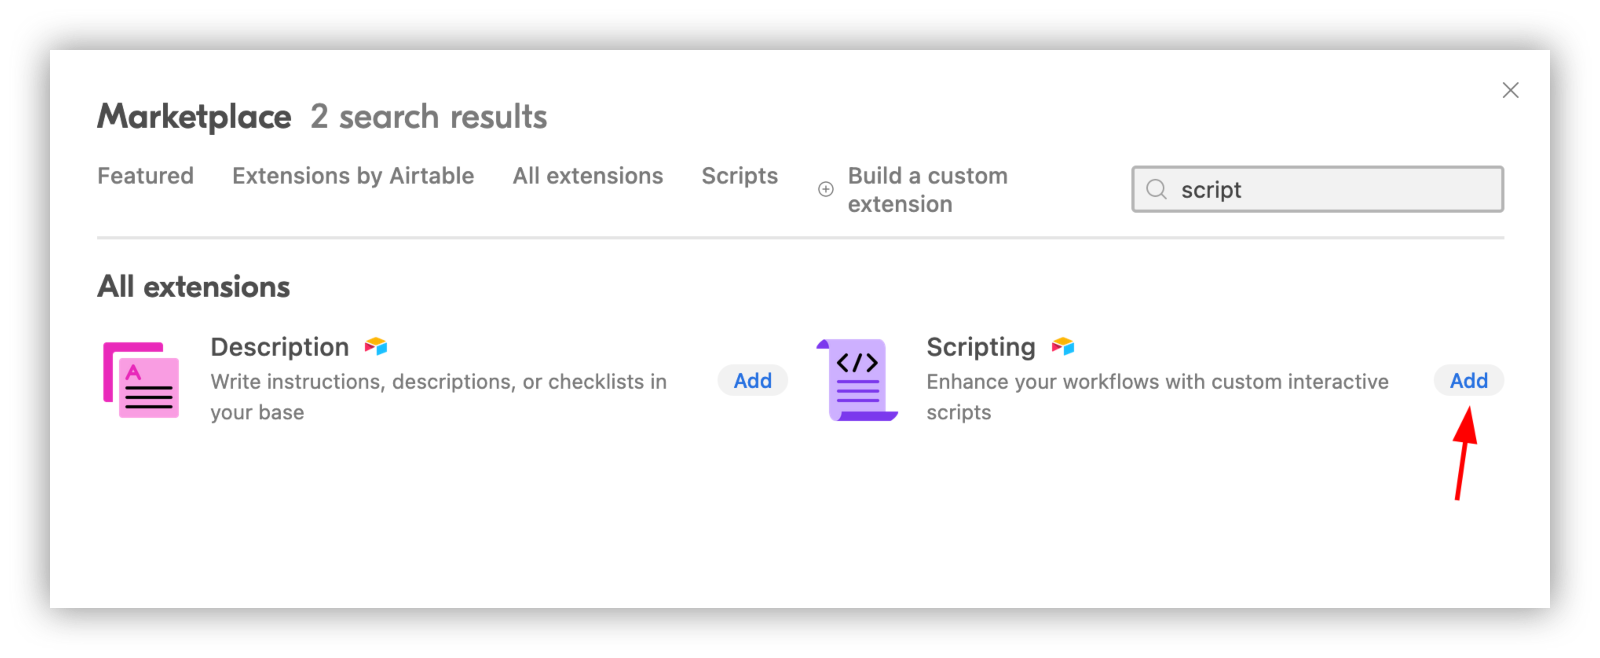
Step 7: Search for the Scripting extension
Use the search box to find the Scripting extension and add it to your base.
Step 8: Replace the default code
The Scripting extension comes with a sample code snippet.
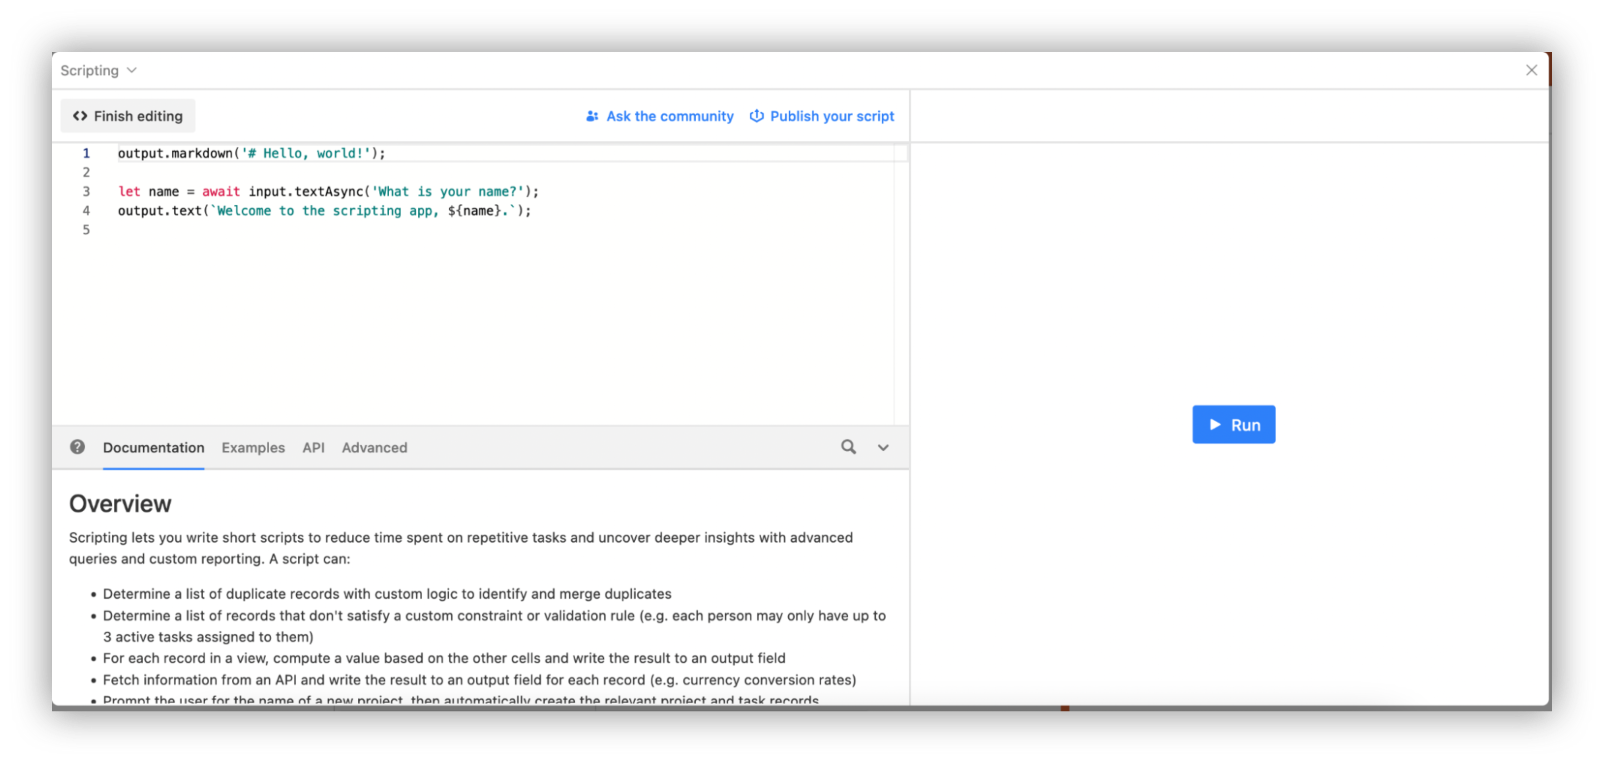
Replace that code with this script (make sure to use your API key):
//SETUP
//use your API Key here (keep the single quotes!)
const apiKey = 'your API Key';

//change the API URL here if you want to use a different API
const url = 'https://api.openai.com/v1/chat/completions';

//change the model here
const model = 'gpt-3.5-turbo';

// gets the prompts table
let table = base.getTable("Prompts");

// Prompt the user to pick a record
let record = await input.recordAsync('Select a record to use', table);

// if there's a valid record selected
if (record) {
	//further model settings and variables
	let prompt = record.getCellValue("Prompt"), temperature = 0.7, maxLeght = 256, topP = 1, frequencyPenalty = 0, presencePenalty = 0;

	// set up the API call variables
	let request = {
    	model: model,
    	messages: [{"role": "user", "content": prompt}],
    	temperature: temperature,
    	top_p: topP,
    	max_tokens: maxLeght,
    	frequency_penalty: frequencyPenalty,
    	presence_penalty: presencePenalty
	}

	// set up the connection variables, including API key
	const data = {
    	"Content-Type": "application/json",
    	"Accept": "application/json",
    	'Authorization': 'Bearer ' + apiKey,
	};

	// API connection
	let response = await fetch(url, {
    	method: 'POST',
    	body: JSON.stringify(request),
    	headers: data,
	});

	// convert the response to JSON
	let answer = await response.json();

	//extract just the OpenAI GPT answer
	answer = answer.choices[0].message.content;

	//display the answer
	output.text(`Answer: ` + answer);

	//let the user pick if they want to save it
	let shouldReplace = await input.buttonsAsync('Do you want to save this answer?', [
    	{label: 'Save', variant: 'danger'},
    	{label: 'Cancel'},
	]);

	if (shouldReplace === 'Save') {
    	// Update the record
    	await table.updateRecordAsync(record,{"Answer": answer})
	}

} else {
	output.text('No record was selected');
}
Here are the main blocks of this code:
- Create the setup variables. Make sure to use your API key
- Create a field so users can select the prompt to answer, using the input.recordAsync('Select a record to use', table) line
- If there’s a record selected, get the prompt text from it, with let prompt = record.getCellValue("Prompt")
- Set up the API connection details, using the request and data variables
- Connect with the OpenAI API, with the fetch() function and using the POST method
- Extract the answer from the response. It’s inside answer.choices[0].message.content;
- Create a prompt to select if the answer should be saved, with await input.buttonsAsync('Do you want to save this answer?', […] )
- Save the record, if the user wants to: await table.updateRecordAsync(record,{"Answer": answer})
Step 9: Test the script
After you paste the code, click “Run.” You’ll see an option to select which record you want to use. Pick one of the records with a valid prompt. You should see it processing before it returns the OpenAI GPT answer.
Click “Save” If you want to keep it or cancel if you want to start again.
Step 10: Run the script from the main page
Close the scripting modal and click on “finish editing” to close the code editor. Now you can run the script to get answers from the main Airtable page. Just click “Run” and follow the same steps to select a record and save the answer.
Conclusion
Today you learned how you can integrate OpenAI GPT with Airable, using the API and the scripting extension.
You can use this script as a starting point for further experiments, such as auto-filling entire tables, running API calls automatically, generating Airtable Formulas with GPT and more.
In addition, you can use Softr along with Airtable to build internal tools that make use of the OpenAI API integration but with custom designs and form elements.
Frequently asked questions about Investor Portal
Can I run multiple prompts at once?
Yes. You can modify this script to run through all records of a table, or run it on specific records. You can use the “find and replace” Artiable script example of a starting point of how to run a script through multiple records.
The key component of the API connection is the fetch function. As long as you keep the connection, you can use it in different calls to generate answers.
Can I use this script with different APIs?
Yes, you can modify the URL endpoint and the API variables to connect with different APIs, including completely different models. For example, you can connect with the image generation model using a very similar method than this one.
Can I use this script on an existing base?
You don’t need to create a new base to run this script. It’s recommended to create a new table though, to make sure that the names work.
What is Softr
Softr is the easiest way to turn your data into powerful business apps—no code required. Connect to your spreadsheet or database, customize layout and logic, and share with your team or clients.
Join 700,000+ users worldwide, building client portals, internal tools, CRMs, dashboards, project management systems, inventory management apps, and more—all without code.
Join 700,000+ users worldwide, building client portals, internal tools, CRMs, dashboards, project management systems, inventory management apps, and more—all without code.
Get started free

Rochester Oliveira


Categories


